
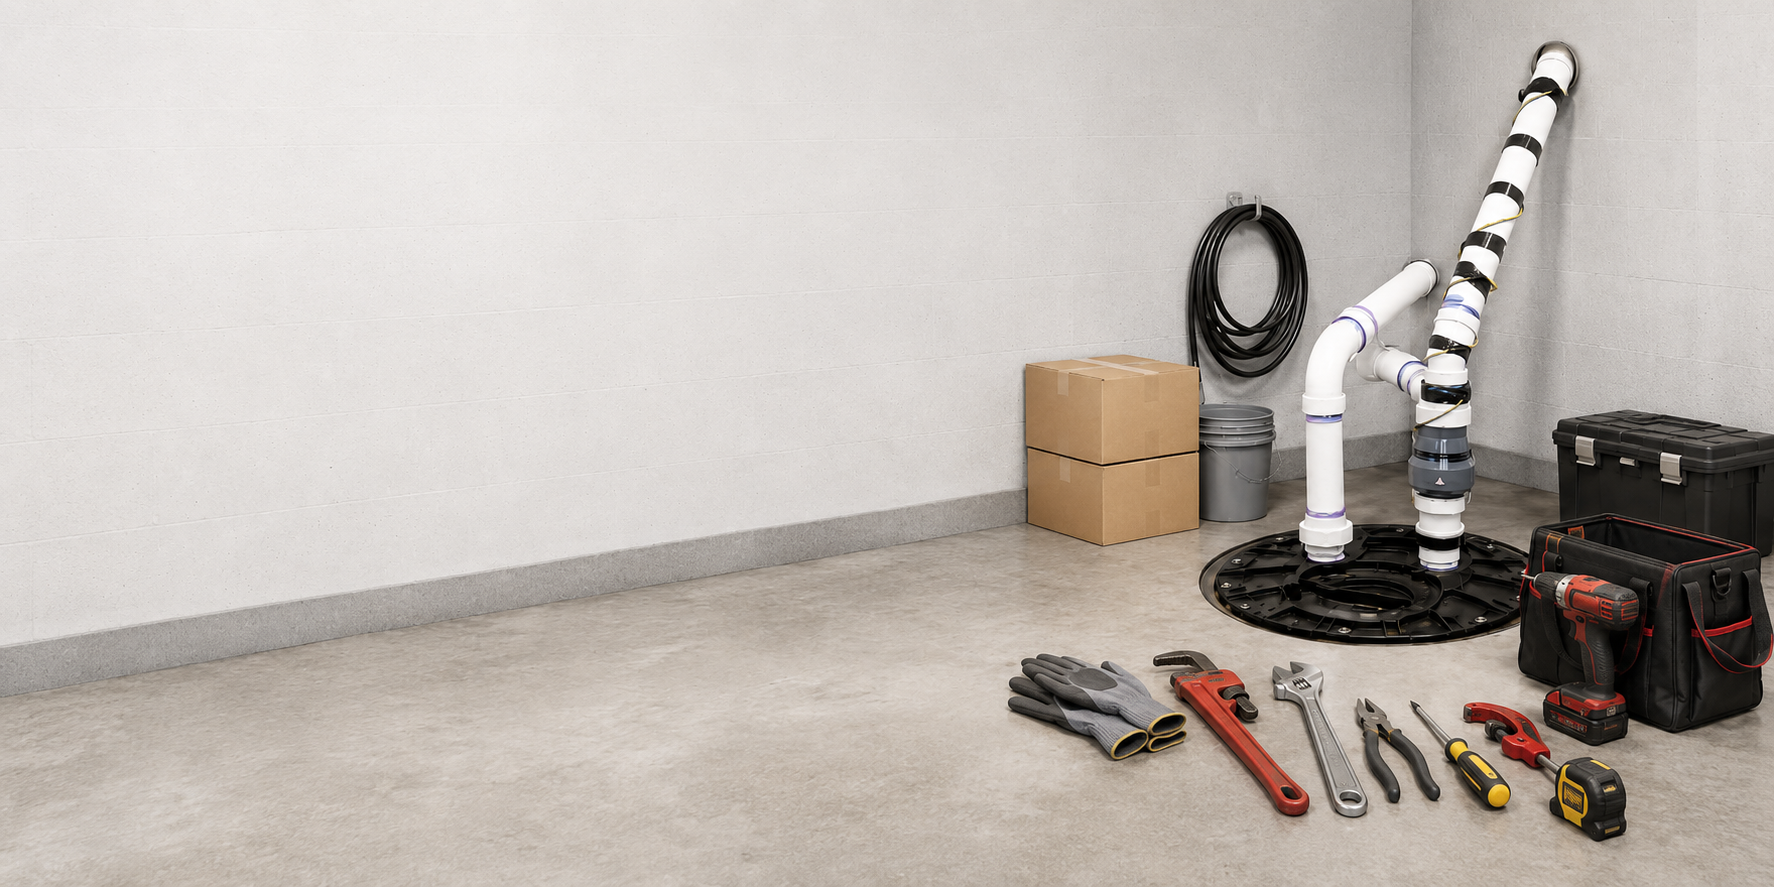
installation_guide.png
Guides and resources

Installation Center

General guidance only. Refer to your product manual for detailed instructions and follow all applicable local electrical, plumbing, and building codes.

Installation Preparation

Before You Begin

Installation requirements depend on the product’s power connection and application. Identify your product type and confirm the basic requirements below before installation.

Installation Type 01

Plug-and-Play Products

Products with a pre-installed plug are generally ready to use after proper placement. Before plugging in, confirm the required voltage and make sure the selected product length and total electrical load are within the capacity of the outlet and circuit.

Check: Voltage · Product wattage · Current draw · Circuit capacity
Installation Type 02

Low-Voltage Products

Low-voltage products do not use a standard household plug and must be connected to a compatible power source. Installation is straightforward for users familiar with basic DC wiring, but the positive and negative connections must be correctly identified, securely connected, and properly protected.

Check: Required voltage · Polarity · Power supply rating · Connection protection
Installation Type 03

Cut-to-Length Bulk Cables

Bulk heating cables require a suitable power connection, proper termination, and waterproof end sealing before use. These products are intended for qualified installers, contractors, or users with appropriate electrical knowledge and installation experience.

Requires: Power termination · End sealing · Connection accessories · Electrical knowledge
Installation Type 04

In-Pipe Heating Systems

Before installation, confirm whether the product is designed for a pressurized water supply line or a non-pressurized drain or sewer line. Check the pipe size, pressure rating, cable route, and outer-jacket condition before inserting the cable.

Check: Product type · Pipe inside diameter · Pressure · Cable route · Jacket condition

Important Installation Notice

Inspect the product for visible damage before installation. Always follow the instructions included with your specific model and comply with all applicable local electrical, plumbing, and building codes. Do not use a product with a damaged cable, plug, connection, or outer jacket.

Heating blankets, floor-heating membranes, diesel heaters, and other specialty products may have application-specific requirements. Review the corresponding product guidance before installation or use.

Installation Guide

External Pipe Heating

General installation guidance for plug-in pipe heating cables, 12V low-voltage heating cables, and cut-to-length bulk heating cables installed on the outside of pipes.

Plug-in Heating Cables 12V Low-Voltage Cable Cut-to-Length Bulk Cable

Identify Your Product Type

Installation requirements depend on how the cable connects to power. Confirm your product type before installation.

120V

Plug-in Heating Cables

Pre-assembled products require no electrical termination. Position and secure the cable, then connect it to a compatible 120V power source.

Check: voltage, product length, wattage, current draw and circuit capacity.

12V

Low-Voltage Heating Cable

Connect the cable to a compatible 12V DC power source. Identify positive and negative conductors and protect the connection from moisture.

Check: voltage, polarity, current and power-supply capacity.

BULK

Cut-to-Length Bulk Cable

Bulk cable requires a power connection, proper termination and waterproof end sealing before it can be energized.

Recommended for qualified installers or users with suitable electrical knowledge.

Basic Installation Overview

This is a general overview only. Follow the instructions included with your specific product.

Inspect and Plan

Inspect the cable, plug and jacket. Measure the pipe, confirm the power location, and clean and dry the surface.

Position the Cable

Install the cable straight or wrapped as specified. Avoid sharp edges, excessive bends and unsupported sections.

Secure and Insulate

Secure the cable with suitable fixing materials. Inspect it before installing pipe insulation.

Check Before Powering On

Confirm cable placement, electrical ratings, connections and end sealing before applying power.

Important Installation Notes

  • Do not use a cable with visible damage to the jacket, plug or power lead.
  • Confirm whether the model supports straight installation, spiral wrapping or overlapping.
  • Do not use sharp fasteners that could damage the cable jacket.
  • Inspect the cable before covering the pipe with insulation.
  • Keep plugs and connections dry unless rated for the environment.
  • Bulk cable must be terminated and end-sealed before use.

External Pipe Heating FAQ

Can I install a plug-in pipe heating cable myself?

Most pre-assembled plug-in models are designed for straightforward installation. Confirm voltage, load, cable placement and insulation requirements first.

How do I know whether my circuit can support the cable?

Check the rated wattage or current for the selected cable length and include other equipment connected to the circuit.

Does the cable need pipe insulation?

Pipe insulation is generally recommended because it reduces heat loss and improves freeze-protection performance.

Can I cut an external pipe heating cable?

Only products specifically identified as cut-to-length cable may be cut. Do not cut fixed-length pre-assembled models.

Can it be installed on plastic pipe?

Some models may be used on compatible plastic pipes. Check the manual for compatibility and any required aluminum tape.

Installation Guide

Internal Pipe Heating

General installation guidance for in-pipe cables used in pressurized water supply lines and non-pressurized drain or sewer lines.

Water Supply Lines Drain & Sewer Lines Adapter Selection

Identify Your Pipe Application

Water supply lines and drain or sewer lines require different cable constructions. Confirm the application before installation.

WATER

For Water Supply Lines

Use the cable designed for pressurized water supply applications. These models use a non-toxic fluoropolymer outer jacket for their intended application.

Check: pipe size, pressure, fitting size, cable route and jacket condition.

DRAIN

For Drain & Sewer Lines

These cables are intended for approved non-pressurized drain, sewer, septic, condensate or wastewater applications.

Check: drain type, pipe diameter, insertion length, restrictions and cable route.

FIT

Entry Fittings & Adapters

Pressurized installations require a compatible adapter selected for the pipe size and cable system.

Check: thread size, fitting direction, sealing method and pressure rating.

Basic Installation Overview

Confirm Compatibility

Confirm the product type, pipe application, inside diameter, pressure, cable length and fitting.

Inspect the Cable

Inspect the full jacket, sealed end, power lead and plug before insertion.

Insert Carefully

Feed the cable gradually. Use suitable fish tape for long pipe runs when necessary.

Seal, Check and Test

Complete the fitting and sealing process before applying pressure or power.

Important Installation Notes

  • The pipe inside diameter must be greater than 3/4 in.
  • Pressurized systems must not exceed the applicable maximum pressure, including 230 PSI where stated.
  • Do not force the cable through sharp 90-degree elbows.
  • Smooth gradual bends may be passable after checking the route.
  • Use fish tape for long or difficult drain and sewer lines.
  • Jacket damage may cause leakage, failure and electrical hazards.
!

Avoid installation damage: Never force, scrape, sharply bend or pull the cable through an unsuitable pipe route.

Internal Pipe Heating FAQ

How do I choose between water-line and drain-line cable?

Use a water-supply-rated model for approved pressurized water systems and a drain-line model for approved non-pressurized drainage applications.

Can the cable pass through a 90-degree elbow?

Sharp 90-degree elbows are not recommended because they may damage the jacket. Smooth gradual bends may be suitable.

Should I inspect the cable before insertion?

Yes. Inspect the jacket, sealed end, power lead and plug before installation.

Do I need fish tape for a long pipe?

A suitable pulling guide is recommended when gentle direct insertion is difficult.

Installation Guide

Roof De-Icing

General guidance for plug-in roof and gutter cables, cut-to-length bulk cable, mounting clips and compatible controls.

Plug-in Roof Cables Bulk Roof Cable Clips & Controllers

Identify Your Product Type

120V

Plug-in Roof Heating Cables

Pre-assembled systems are ready to use after correct cable placement and mounting with compatible clips.

Check: supply voltage, load, length, outlet location and roof compatibility.

BULK

Cut-to-Length Bulk Roof Cable

Bulk cable requires power termination, waterproof end sealing and compatible accessories.

Recommended for contractors or electrically experienced installers.

CTRL

Clips, Sensors & Controls

Use compatible clips and position controls and sensors according to their model-specific instructions.

Check: compatibility, mounting type, sensor location and load rating.

Basic Installation Overview

Inspect the Roof Area

Identify roof edges, gutters, downspouts and recurring ice-dam areas.

Plan the Layout

Measure the complete route and plan the required cable pattern.

Secure the Cable

Attach the cable with compatible clips without excessive tension or sharp fasteners.

Inspect and Connect

Inspect the layout and confirm voltage and circuit capacity before connecting power.

Important Installation Notes

  • Roof cable creates drainage paths and does not remove all snow.
  • Do not use nails or staples through the heating cable.
  • Cover gutters and downspouts where meltwater must travel.
  • Confirm whether the product is fixed-length or cut-to-length.
  • Bulk cable must be connected and end-sealed before use.
  • Use appropriate fall protection when working above ground.

Roof De-Icing FAQ

Will roof cable melt all snow on my roof?

No. It creates meltwater channels through vulnerable roof, gutter and downspout areas.

Can I cut a plug-in roof cable?

Do not cut fixed-length plug-in cables. Only approved bulk cable may be cut and terminated.

Does cable need to enter the downspout?

Downspout coverage is generally important where meltwater must remain open to the drainage outlet.

Do I need a roof controller?

A compatible controller can automate operation using temperature, moisture or programmed settings.

Installation Guide

Controls

General setup guidance for plug-in temperature controls, sensor-based controllers and wall-mounted or hardwired thermostats.

Plug-in Controls Sensor Controllers Hardwired Thermostats

Identify Your Control Type

PLUG

Plug-in Controls

Plug the heating product into the controller, then connect the controller to a compatible outlet.

Check: voltage, operating mode, maximum load and outlet location.

SENS

Sensor-Based Controllers

Position the sensor where it can measure the relevant temperature or moisture without false readings.

Check: sensor type, placement, setpoint and controlled load.

WIRE

Hardwired Thermostats

Permanently wired controllers require correct supply, load and sensor wiring according to their diagrams.

Professional installation is recommended for permanent wiring.

Basic Setup Overview

Match the Application

Confirm that the controller is intended for the selected heating or cooling application.

Check Electrical Ratings

Compare controller voltage and maximum load with the connected equipment.

Position the Sensor

Install the sensor in the location specified for the intended application.

Configure and Test

Set the operating mode and temperature, then test the switching operation.

Important Installation Notes

  • Confirm the voltage and complete connected electrical load.
  • Controllers for different applications are not automatically interchangeable.
  • Select the correct heating or cooling mode.
  • Do not sharply bend, crush or modify sensor leads.
  • Keep indoor-only controls away from moisture and outdoor exposure.
  • Permanent wiring should be completed by a qualified person.

Controls FAQ

How do I know whether a controller can handle my product?

Compare the product voltage and complete electrical load with the controller's voltage and maximum capacity.

Where should I place the temperature sensor?

Place it where it measures the temperature that should control the system without artificial heat or unsuitable exposure.

Can any controller be used with any YeloDeer product?

No. Controllers differ by voltage, load, operating mode, sensor type and intended application.

Do I need an electrician?

Plug-in controls generally require no permanent wiring. Hardwired controls require suitable electrical knowledge.

Installation Guide

Heaters

General setup guidance for bucket and drum heaters, insulated wraps, ground-thawing blankets and concrete-curing blankets.

Container Heaters Heating Wraps Ground & Concrete Blankets

Identify Your Heater Type

DRUM

Bucket & Drum Heaters

Wrap the heater evenly around a compatible container and secure it with the supplied fastening system.

Check: container size, material, contents, temperature and voltage.

WRAP

Insulated Heating Wraps

Maintain close, even contact and secure all straps without folding or crushing the heater.

Check: fit, surface contact, strap tension and temperature setting.

MAT

Ground & Concrete Blankets

Lay the blanket flat over the prepared surface and avoid folds, sharp objects and unsafe cord routing.

Check: area, moisture, cable routing and circuit capacity.

Basic Setup Overview

Check the Application

Confirm suitability for the container, material, surface and target temperature.

Inspect and Position

Inspect the heater and position it without folds, damage or sharp objects.

Secure the Heater

Secure the straps and protect power cords from traffic, equipment and standing water.

Set and Monitor

Connect to the correct supply, select a suitable temperature and monitor operation.

Important Installation Notes

  • Confirm that the heater dimensions match the application.
  • Check container material and contents before heating.
  • Do not fold, puncture or place sharp objects on blankets.
  • Do not use a heater with damaged electrical components.
  • Protect connections from standing water and traffic.
  • Select temperature according to the heated material.

Heaters FAQ

How do I choose the correct heater size?

Match the heater to the container capacity, dimensions, material and intended temperature range.

Can I use the highest setting for faster heating?

Not automatically. Select a setting suitable for the container and its contents.

Can a heating blanket be folded?

Do not fold or sharply crease a blanket unless the model-specific instructions clearly permit it.

Can jobsite blankets be left unattended?

Inspect the installation regularly and protect blankets and cords from changing jobsite conditions.

Installation Guide

Other Products

General guidance for floor-heating membranes, mobile diesel heaters and selected installation tools and materials.

Floor Heating Membranes Mobile Diesel Heater Tools & Materials

Identify Your Product Type

FLOOR

Floor Heating Membranes

Install the membrane over a prepared subfloor before compatible heating cable and finished flooring.

Check: subfloor, membrane type, cable spacing and flooring requirements.

DIESEL

Self-Powering Mobile Diesel Heater

Position the heater on a stable surface with suitable ventilation, safe exhaust routing and sufficient clearance.

Check: ventilation, exhaust, fuel, clearance and environment.

TOOL

Installation Tools & Materials

Select fish tapes, duct rodders and wire according to the main system being installed.

Follow the primary system instructions and product ratings.

Floor Heating Membrane Overview

Prepare the Subfloor

Ensure the subfloor is clean, flat, stable and suitable for the selected system.

Plan the Layout

Plan membrane sections, cable route, sensor position and unheated areas.

Install the Membrane

Install the standard or self-adhesive membrane using the specified method.

Install and Test

Install the compatible cable and sensor, then complete testing before flooring installation.

Diesel Heater Setup Overview

Select a Safe Location

Use a stable surface with suitable ventilation and clearance.

Check Fuel and Exhaust

Inspect the fuel system and route exhaust safely outdoors.

Inspect Before Starting

Inspect the heater, tank, exhaust parts and air openings.

Start and Monitor

Follow the manual and monitor airflow, exhaust, fuel and temperature.

!

Combustion safety: Never operate a diesel heater in an enclosed occupied space without suitable ventilation and safe exhaust routing.

Other Products FAQ

What is the difference between standard and self-adhesive membrane?

Standard membranes normally require separate bonding material. Self-adhesive versions use an integrated adhesive backing on a compatible prepared surface.

Can floor heating cable be installed before room planning?

Plan heated areas, cable routing, sensor location and permanent fixtures before installing the cable.

Can I operate the diesel heater inside a closed room?

Do not operate a combustion heater in an enclosed occupied area without adequate ventilation and outdoor exhaust routing.

Do fish tapes require a separate installation guide?

Fish tapes are supporting tools. Select and use them according to the cable, conduit or pipe system being installed.

Installation Support

General Installation FAQ

Answers to common questions that apply across multiple YeloDeer product categories. For model-specific requirements, always refer to the instructions included with your product.

Does this page replace the product manual?

No. This page provides general guidance to help you understand the installation process. Always follow the manual and model-specific instructions included with your product.

Should I inspect the product before installation?

Yes. Inspect the cable, plug, power cord, connections, outer jacket, controls, and included components before installation. Do not install or energize a product with visible damage.

When should I use a professional installer?

Professional installation is recommended when the product requires permanent wiring, custom electrical termination, plumbing modifications, fuel or exhaust setup, or work governed by local electrical, plumbing, or building codes.

Can I cut, extend, or modify the product?

Only modify a product when the instructions for that exact model clearly permit it. Fixed-length plug-in cables and pre-assembled products should not be cut, extended, or altered unless specifically approved.

How do I confirm that my power source is suitable?

Check the product voltage, wattage, rated current, and total connected load. The outlet, power supply, controller, and circuit must all support the required electrical load. Consult a qualified electrician if you are unsure.

What should I check before turning the product on?

Confirm that the product is correctly positioned, secured, connected, and free from visible damage. Verify all terminations, end seals, sensors, fittings, ventilation, and electrical ratings required for the specific application.

Still unsure about your installation?

Contact YeloDeer Technical Support with your product name, application, voltage, installation environment, and relevant photos so our team can better understand your project.

Need Help With Your Installation?