For homeowners in extreme cold climates—especially in regions like Northern Ontario where bedrock prevents deep burial of water lines—maintaining a reliable water supply in winter is a major challenge.
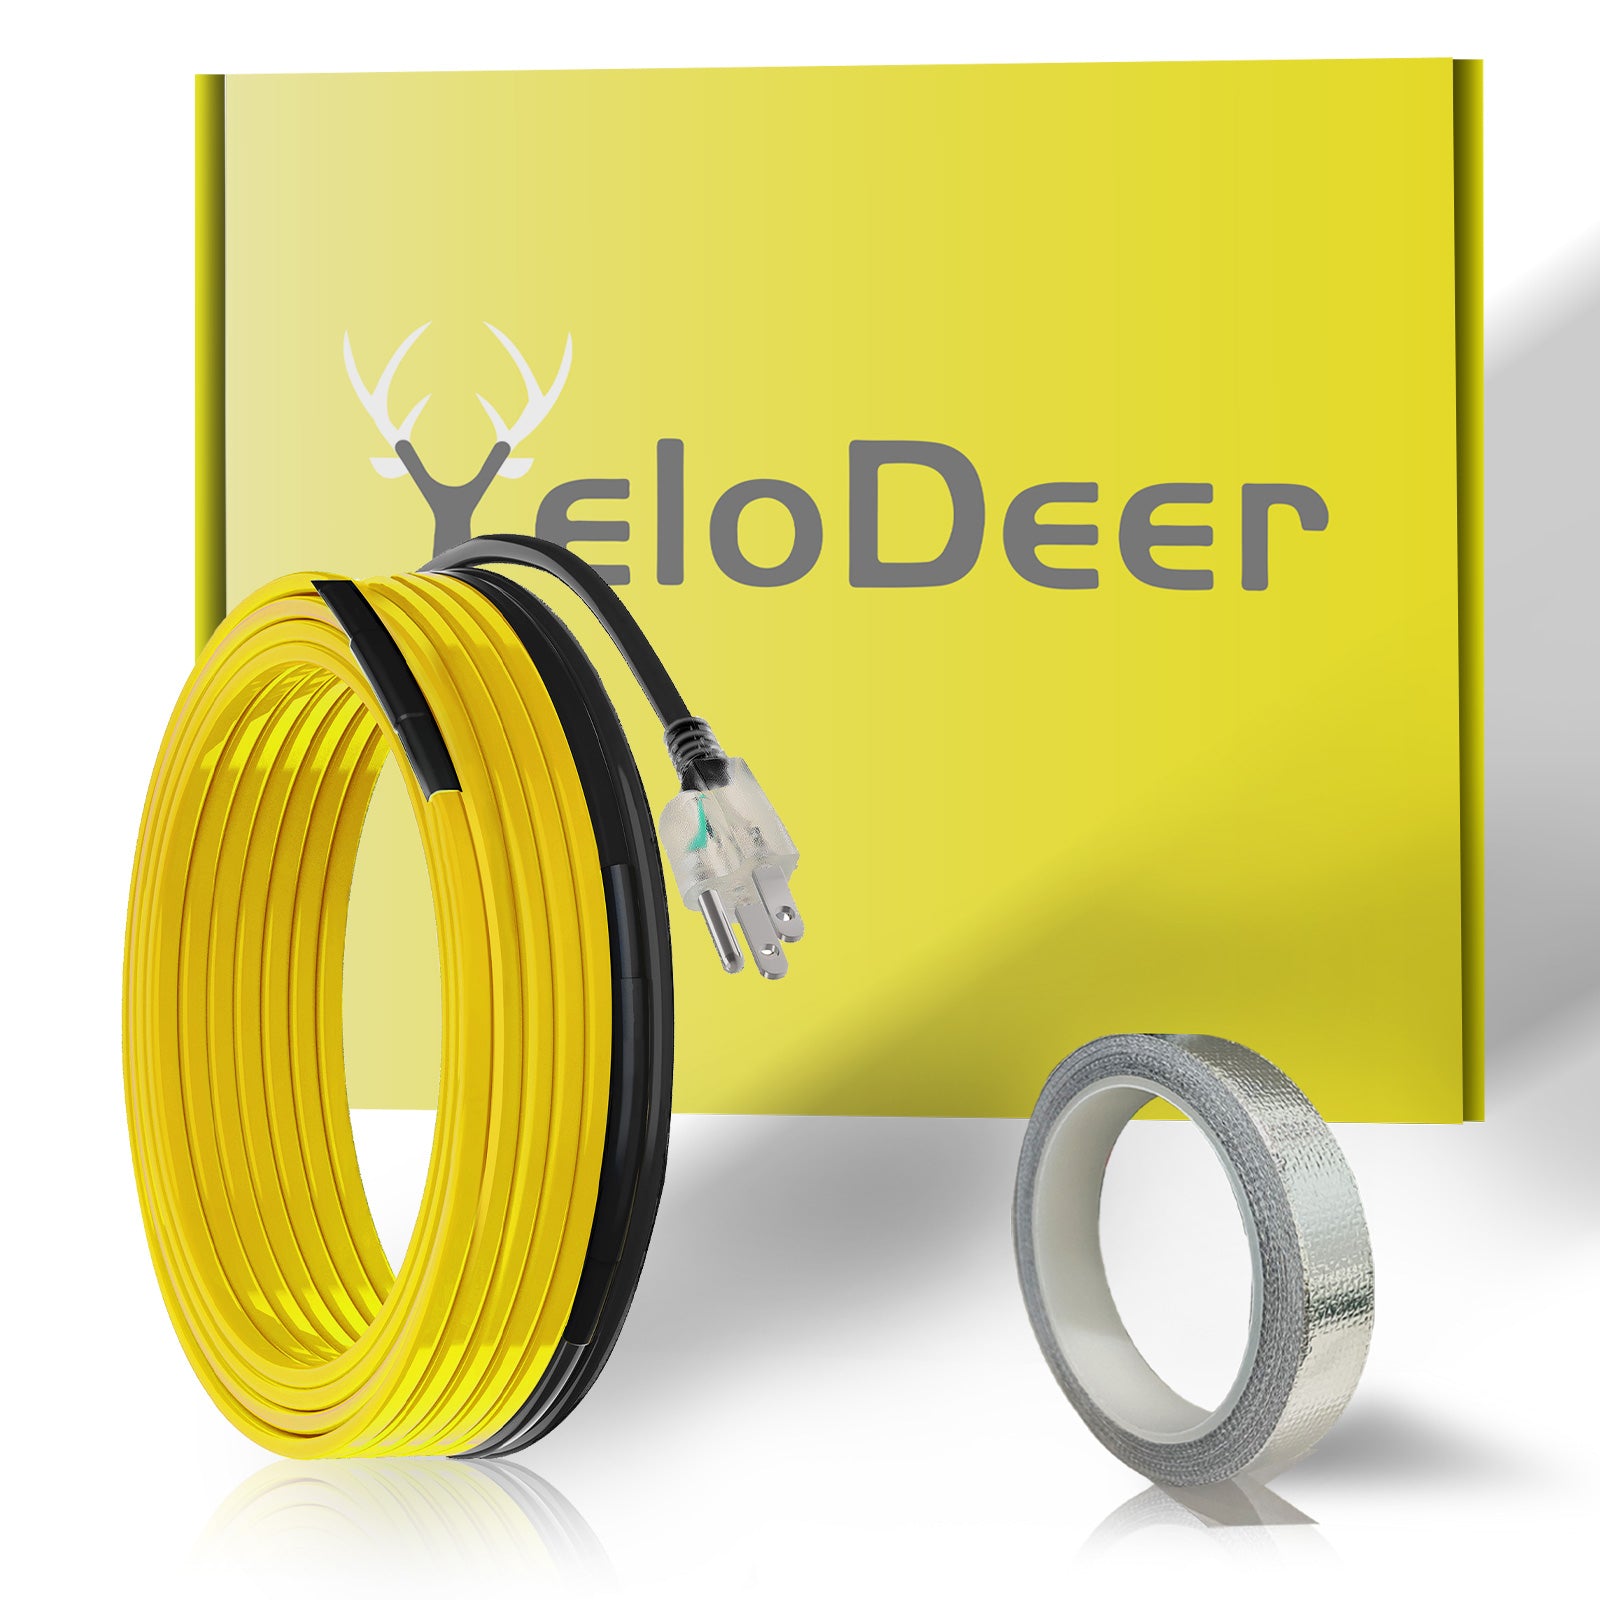
We were thrilled to see Josh Teshner from @Teschner Homes share his professional experience installing the YeloDeer Y-In-Pipe Heating Cable. Josh provides a masterclass in DIY installation, proving that with the right tools, you can save hundreds in professional fees while ensuring your home stays functional all winter long.
🎬 Watch the Professional Walkthrough
If you prefer a visual guide, watch Josh’s detailed 3-part installation series here: Video: YeloDeer Inline water heat trace cable install
🛠 Step-by-Step Installation Breakdown
Preparation: Safety First
Before cutting into your main water line, follow these critical safety steps:
Power Down: Turn off the power to your well pump.
Drain the System: Open your taps and drain the Pressure Tank completely. This ensures there is no residual pressure when you cut the line.
Gather Materials: You’ll need wrenches, a pipe cutter, and heavy-duty Teflon tape.
Assembling the Y-Fitting
The Y-fitting is the heart of the "in-pipe" system, allowing the cable to enter the water stream while maintaining a seal.
The Seal Stack: Follow the order: Brass Washer -> Rubber Stopper (with notch) -> Brass Washer.
The Key Detail: Ensure the notch in the rubber stopper perfectly aligns with the heating cable profile to prevent leaks under pressure.
Feeding the Cable & Pipe Connections
Pipe Diameter: This system is recommended for pipes 3/4" or larger to ensure the cable head passes through fittings smoothly.
Teflon Tape Tip: Josh strongly recommends using pink heavy-duty Teflon tape. It is thicker and more effective than standard white tape for 3/4" and 1" fittings, providing a much more reliable seal for high-pressure water lines.
Pressure Testing & Electrical
Incremental Testing: Once installed, slowly restore water pressure. If a minor drip occurs, tighten the fittings slightly. Avoid over-tightening PVC parts to prevent stripping the threads.
Dedicated Circuit: Connect the cable to a dedicated 15A circuit with GFI protection for maximum safety.
💡 Pro Tip from Josh Teshner
"Don't go crazy over-tightening those PVC fittings. If it drips, turn the water off, drain it, and give it a slight snug. Slow is fast." — Josh Teshner
🌟 Why Choose the YeloDeer In-Pipe System?
Maximum Heat Efficiency: By placing the cable inside the water, heat is transferred directly to the medium, using far less energy than external wraps.
Safety Certified: Our cables are CSA and UL certified and made with food-grade materials, ensuring your drinking water stays safe and clean.
DIY Friendly: As Josh demonstrated, any handy homeowner can install this system and save $400-$500 in labor costs.
🔧 Custom Solutions & Voltage Options
Every plumbing setup is unique. That’s why YeloDeer offers:
Custom Lengths & Power: We can customize the cable length and wattage to fit your specific pipe run and climate severity.
Voltage Choice: Our standard units are 120V, but 240V versions are available upon request for larger projects.
For custom orders or technical inquiries, contact our team at: yelodeer@yelodeer.com
👉 Shop YeloDeer Y-In-Pipe Heating Cables Now
A Special Thanks: Our sincere gratitude to Josh Teshner for this incredible contribution to the DIY community. His expertise helps homeowners everywhere tackle the toughest winter challenges with confidence.