Quick Answer
The YeloDeer Y-In-Pipe Heating Cable is designed to help protect compatible water lines from freezing by placing the heating cable inside the pipe, closer to the water path.
For cold-climate homes, cabins, well lines, and shallow-buried water lines where deep burial is difficult, an in-pipe heating cable can be a practical freeze protection option when properly selected, installed, pressure tested, and powered with appropriate GFI / GFCI protection.
For homeowners in extreme cold climates, maintaining a reliable winter water supply can be a major challenge. This is especially true in areas like Northern Ontario, where bedrock or site conditions may prevent water lines from being buried deep enough below the frost line.
YeloDeer was glad to see Josh Teshner from @Teschner Homes share his professional installation experience with the YeloDeer Y-In-Pipe Heating Cable.
His walkthrough shows how a careful installer can prepare the water system, assemble the Y-fitting, feed the cable, seal the entry point, restore pressure, and check for leaks before winter arrives.
Watch the Installation Walkthrough
If you prefer a visual guide, Josh’s installation video is a helpful reference for understanding the overall process and key details.
Video: YeloDeer Inline Water Heat Trace Cable Install
This professional walkthrough shows the installation process for a YeloDeer in-pipe water line heating cable, including preparation, Y-fitting assembly, cable feeding, pressure testing, and electrical setup.
Watch the Installation VideoThe video can help customers understand the process, but it does not replace the product manual, local plumbing requirements, electrical code requirements, or professional guidance when needed.
Where an In-Pipe Heating Cable Makes Sense
An in-pipe heating cable is especially useful when external wrapping is difficult, inefficient, exposed to damage, or unable to provide enough freeze protection for a vulnerable water line.
Important: in-pipe heating cable should only be used in compatible water lines and installed according to the product instructions. Confirm pipe size, pipe material, fittings, pressure conditions, cable rating, water use, and local code requirements before installation.
Step 1: Preparation and Safety First
Before cutting into a main water line, the system must be safely prepared. This helps reduce pressure-related problems, water spills, and installation errors.
Safety reminder: if you are not comfortable cutting into a pressurized water line, working around well equipment, or wiring electrical freeze protection, work with a qualified plumber or electrician.
Step 2: Assemble the Y-Fitting Correctly
The Y-fitting is the key entry point for the in-pipe heating cable. It allows the cable to enter the water line while helping maintain a sealed connection.
In Josh’s walkthrough, the seal stack follows this general order:
Brass Washer → Rubber Stopper with Notch → Brass Washer
Key detail: small alignment issues around the cable entry point can lead to leaks under pressure. Take time to align the rubber stopper and test the seal gradually.
Step 3: Feed the Cable and Connect the Pipe
Once the Y-fitting is prepared, the cable can be carefully fed into the compatible water line. Do not force the cable through tight fittings, sharp bends, blocked sections, or incompatible pipe routes.
For threaded fittings, Josh recommends using heavy-duty pink thread seal tape for larger fittings. Always follow fitting manufacturer recommendations and the YeloDeer installation instructions for your specific setup.
Step 4: Pressure Test Before Winter
After installation, restore water pressure slowly and check every connection point. This step is important because small leaks are easier to fix immediately than after insulation, backfilling, or winter operation begins.
Step 5: Electrical Setup and GFI / GFCI Protection
In-pipe heating cable is an electrical freeze protection system used around water. Proper electrical protection is essential.
Electrical safety reminder: do not energize a damaged cable, wet plug, compromised connection, or improperly protected circuit. For permanent installations or uncertain wiring conditions, consult a qualified electrician.
Why Choose an In-Pipe Heating System?
Compared with external heat tape, an in-pipe system places heat closer to the water path. This can be helpful for freeze-prone water lines where the vulnerable section is inside the pipe route rather than only on the outer pipe surface.
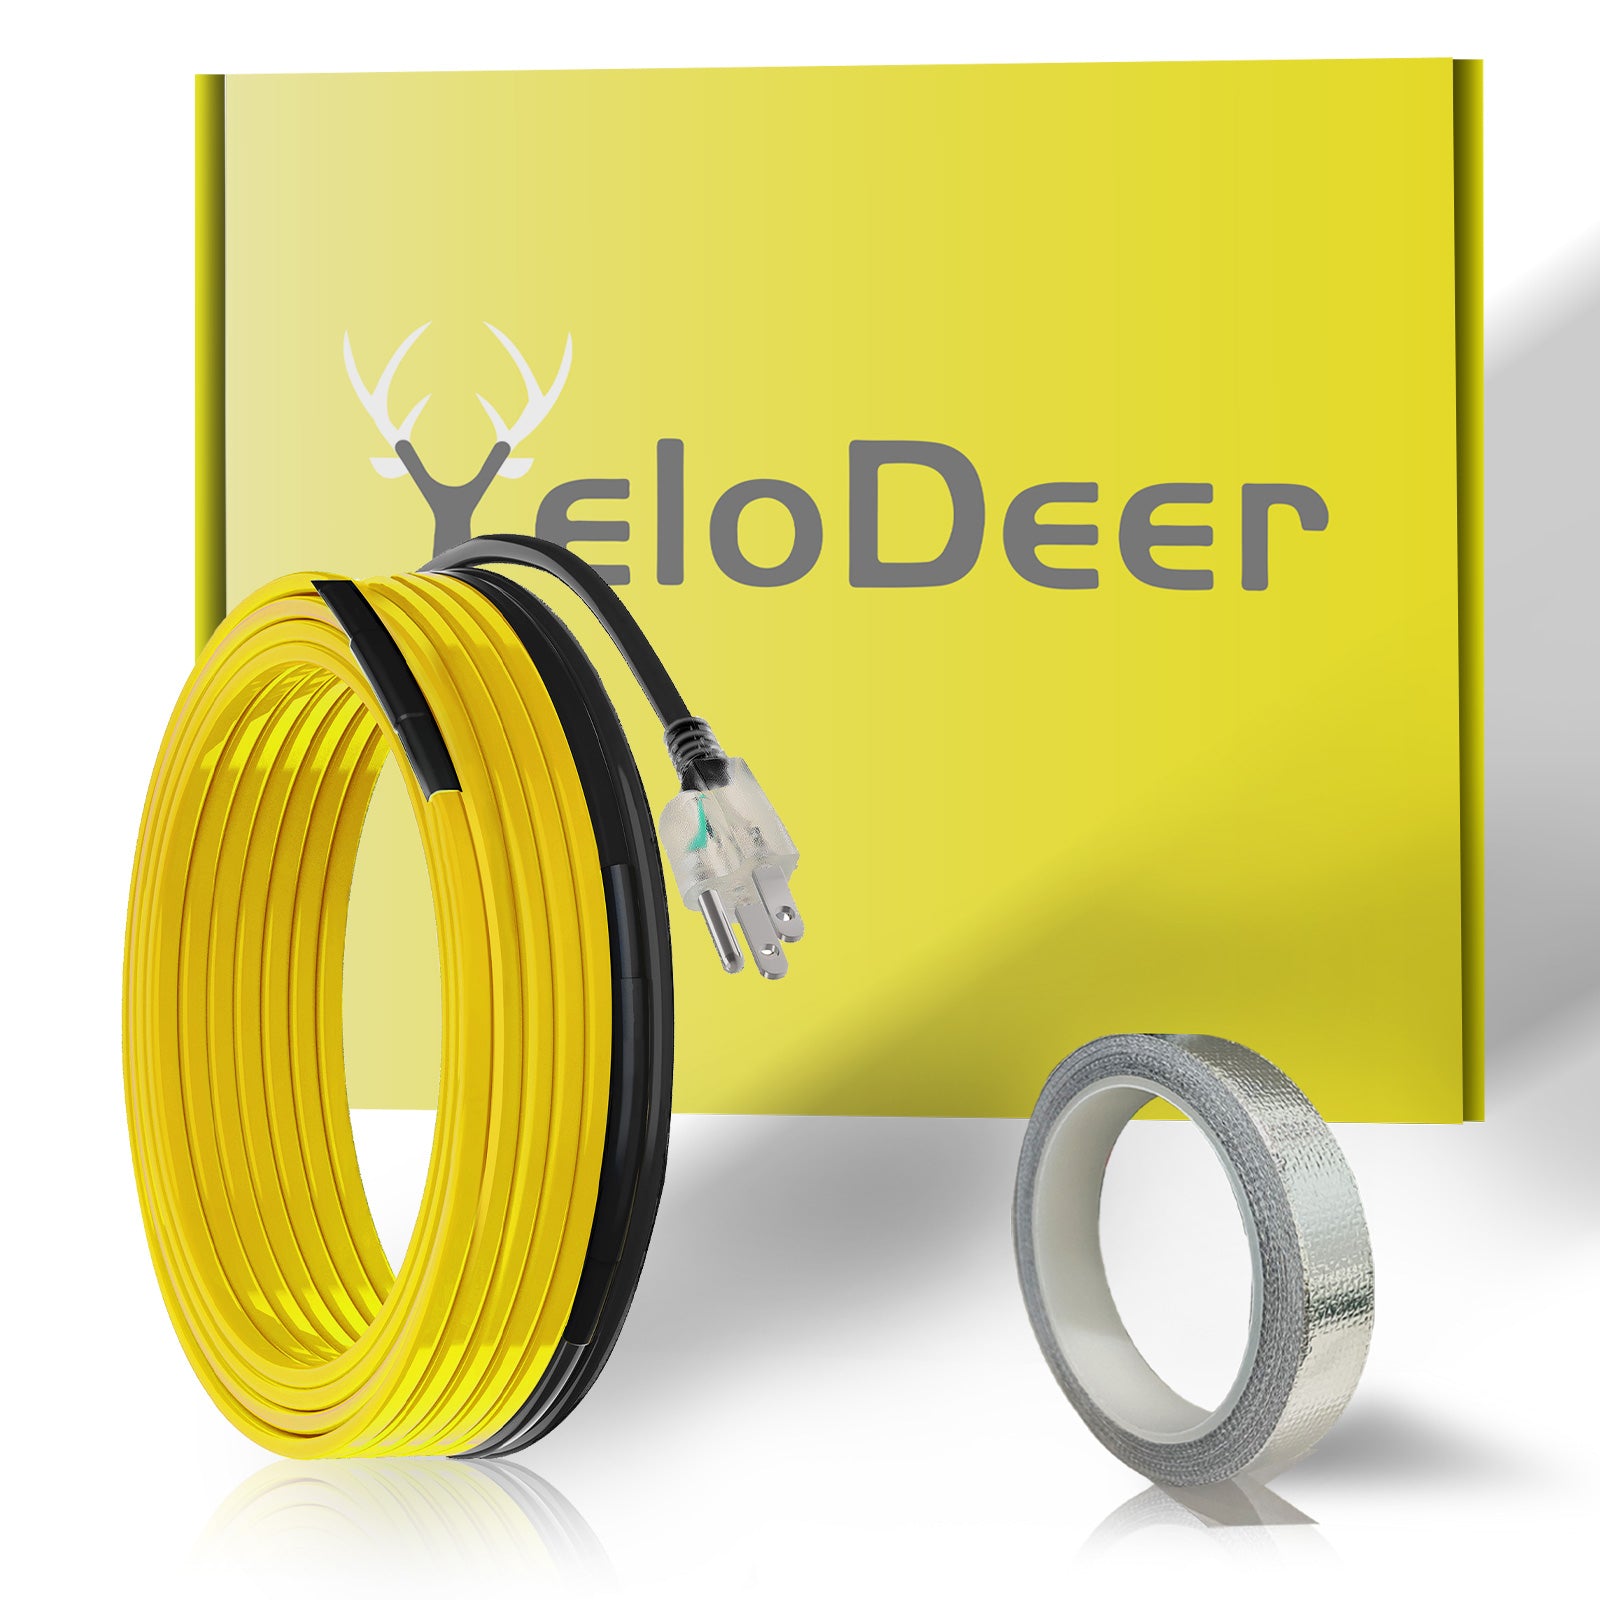
YeloDeer Y-In-Pipe Heating Cable
The YeloDeer Y-In-Pipe Heating Cable is designed for compatible water line freeze protection applications where internal heating is needed.
It can be used for suitable cold-climate water lines, well systems, cabins, rural homes, and shallow-buried pipe sections when properly installed.
Shop YeloDeer Y-In-Pipe Heating CableWhat to Confirm Before Installation
Before installing any in-pipe heating cable, confirm the installation conditions. This helps avoid sizing errors, sealing problems, pressure issues, and unsafe electrical setups.
| Check Item | Why It Matters |
| Pipe diameter | The cable head and cable body must pass through the fitting and pipe route without obstruction. |
| Pipe material | The installation method and fittings must be compatible with the pipe system. |
| Water use | Confirm the cable is suitable for the intended water application. |
| Cable length | The cable should reach the freeze-prone section without excess or shortage. |
| Fittings and seal stack | Correct assembly helps prevent leaks at the Y-fitting entry point. |
| Voltage and circuit | The electrical system must support the cable load and required protection. |
| Local requirements | Plumbing and electrical rules may vary by region and application. |
Custom Lengths and Voltage Options
Every plumbing setup is different. Some homes need a short freeze protection run near a cold entry point, while others need a longer solution for shallow-buried lines, cabins, or larger projects.
Need Help With a Custom In-Pipe Heating Cable Project?
Tell us your pipe diameter, pipe material, water line length, freeze-prone section, voltage requirement, expected winter temperature, and installation environment. The YeloDeer team can help you review a standard or custom option.
Contact YeloDeerFAQ
What is a Y-in-pipe heating cable?
A Y-in-pipe heating cable is an internal water line freeze protection system that uses a Y-fitting to allow the heating cable to enter a compatible pipe while maintaining a sealed connection.
When should I choose an in-pipe heating cable instead of external heat tape?
Choose an in-pipe heating cable when the pipe is compatible, the freeze-prone section is better protected from inside the pipe, or external wrapping is difficult, exposed, or less practical for the installation.
What pipe size is needed for the YeloDeer Y-In-Pipe Heating Cable?
The source installation guidance recommends pipes 3/4 inch or larger so the cable head can pass through fittings smoothly. Always confirm the final requirement with the product manual and your specific pipe layout.
Do I need to turn off the well pump before installation?
Yes. Before cutting into the water line, turn off the well pump or water system, open taps, and drain the pressure tank so the line is not pressurized during installation.
How do I prevent leaks at the Y-fitting?
Follow the seal stack order in the instructions, align the rubber stopper notch with the cable profile, use suitable thread seal tape on threaded fittings, restore pressure slowly, and check for drips before finishing the installation.
Does an in-pipe heating cable need GFI or GFCI protection?
Yes. Electrical freeze protection systems used around water require appropriate ground-fault protection according to the product instructions and applicable electrical codes.
Can YeloDeer support custom cable lengths or 240V projects?
Yes. YeloDeer can review custom cable lengths, power needs, and 240V options for larger or project-specific installations. Contact yelodeer@yelodeer.com with your pipe and project details.
Can in-pipe heating cable guarantee my water line will not freeze?
No. A properly selected and installed in-pipe heating cable can help reduce freeze risk, but performance depends on cable length, pipe layout, insulation, water flow, power availability, controls, ambient temperature, and installation quality.
The Bottom Line
The YeloDeer Y-In-Pipe Heating Cable can be a practical freeze protection solution for compatible water lines in severe winter climates, especially where deep burial is difficult or external wrapping is not ideal.
Josh Teshner’s installation walkthrough highlights the details that matter most: safe preparation, correct Y-fitting assembly, careful cable feeding, pressure testing, controlled tightening, and proper electrical protection.
For best results, confirm pipe compatibility, follow the manual, pressure test before winter, and use the required GFI / GFCI protection.
Plan Your In-Pipe Water Line Freeze Protection
Need help choosing the right Y-in-pipe heating cable length or voltage? Tell us your pipe size, pipe material, water line length, installation location, power source, and expected winter temperature. The YeloDeer team can help you review a suitable option.
Shop YeloDeer Y-In-Pipe Heating Cable Contact YeloDeer