Self-Regulating Heat Tape for Pipes with Built-In Thermostat
Simple 120V freeze protection for external water pipes.
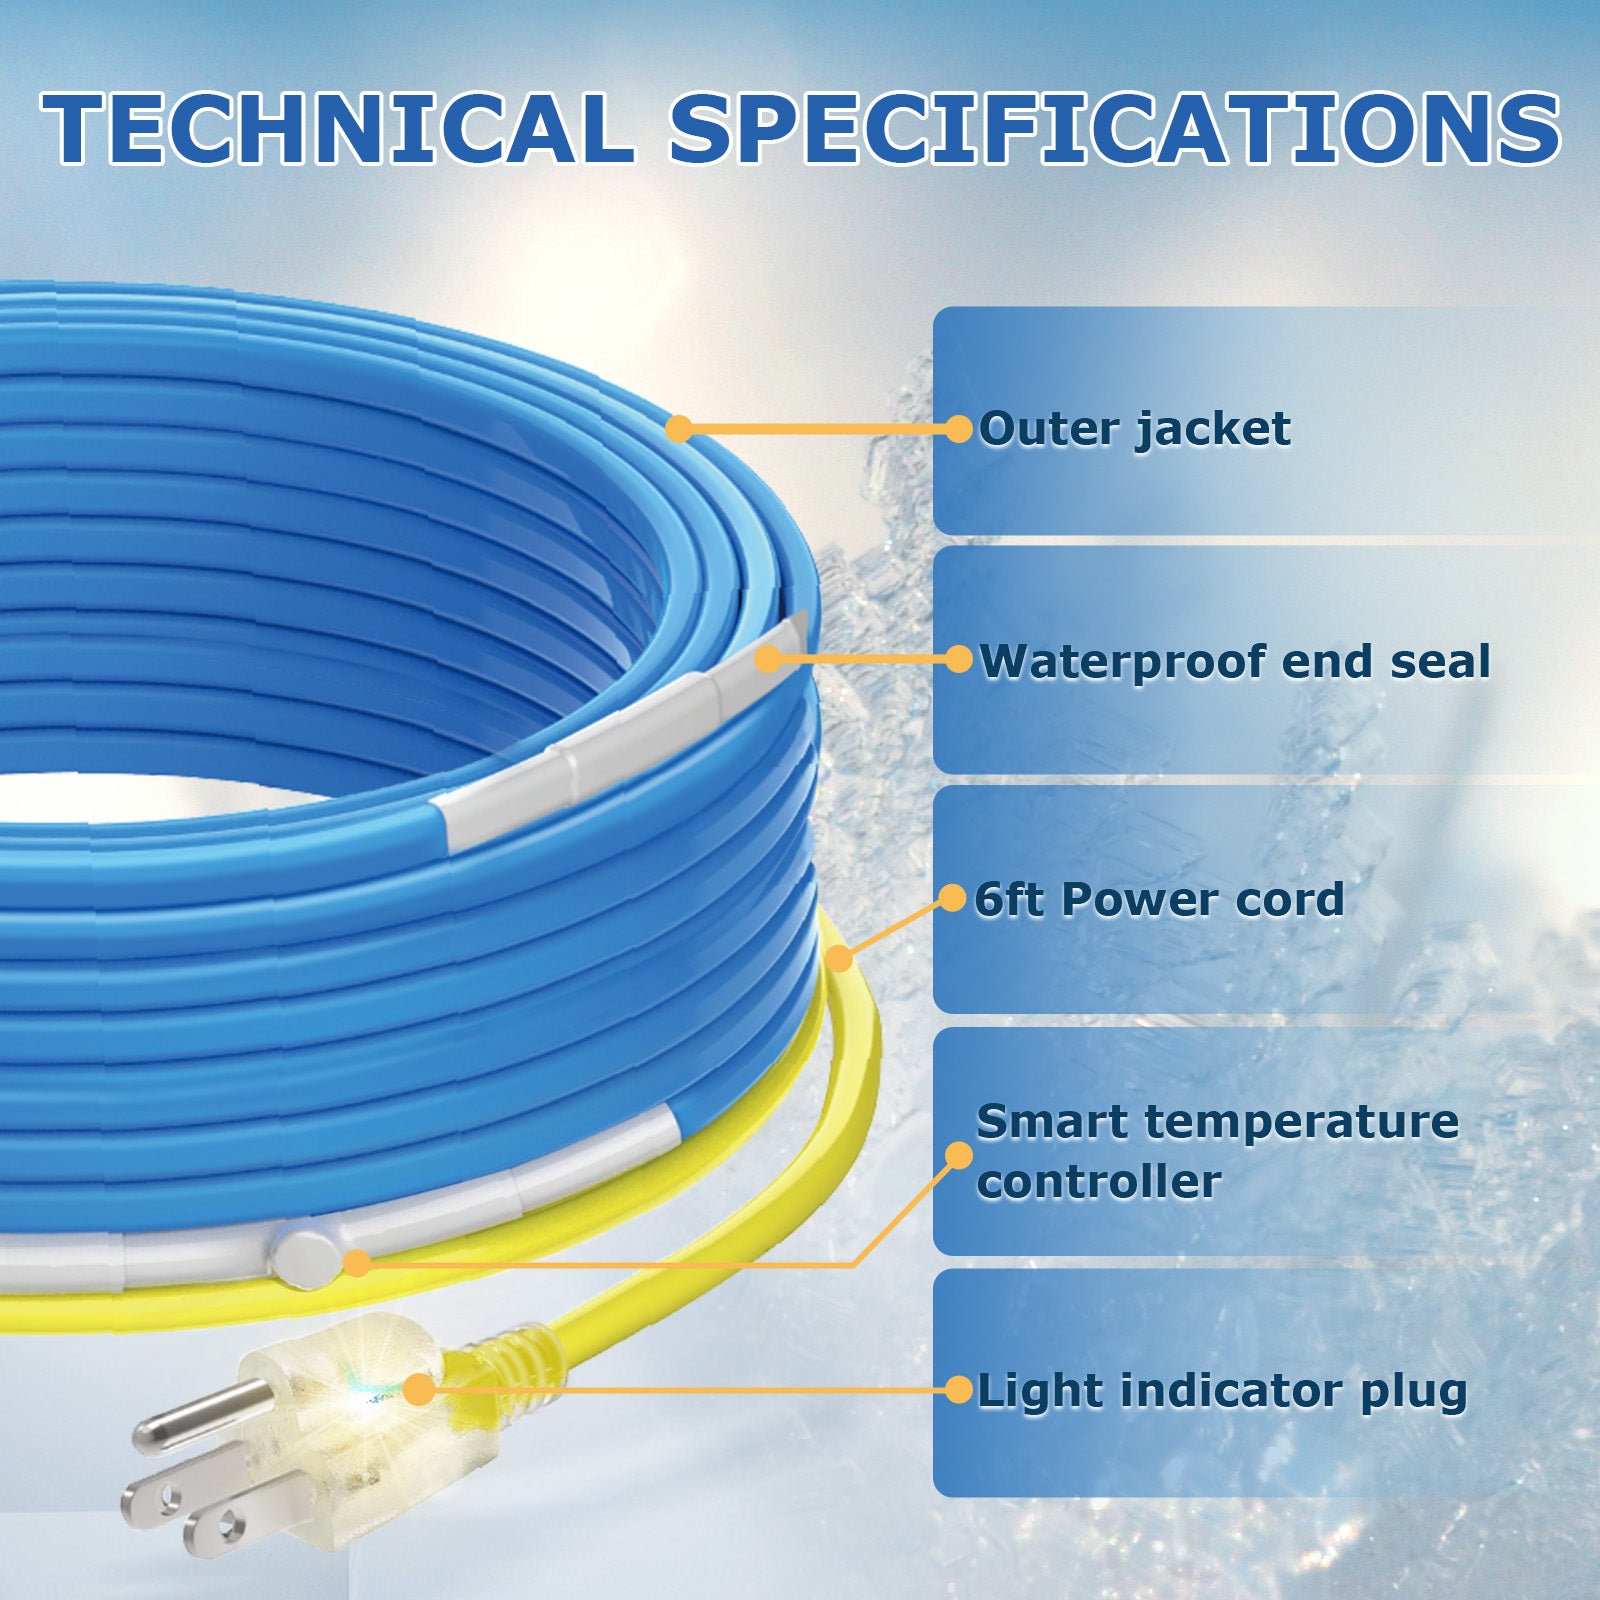
Single Power Indicator One light confirms that the plug is receiving power.
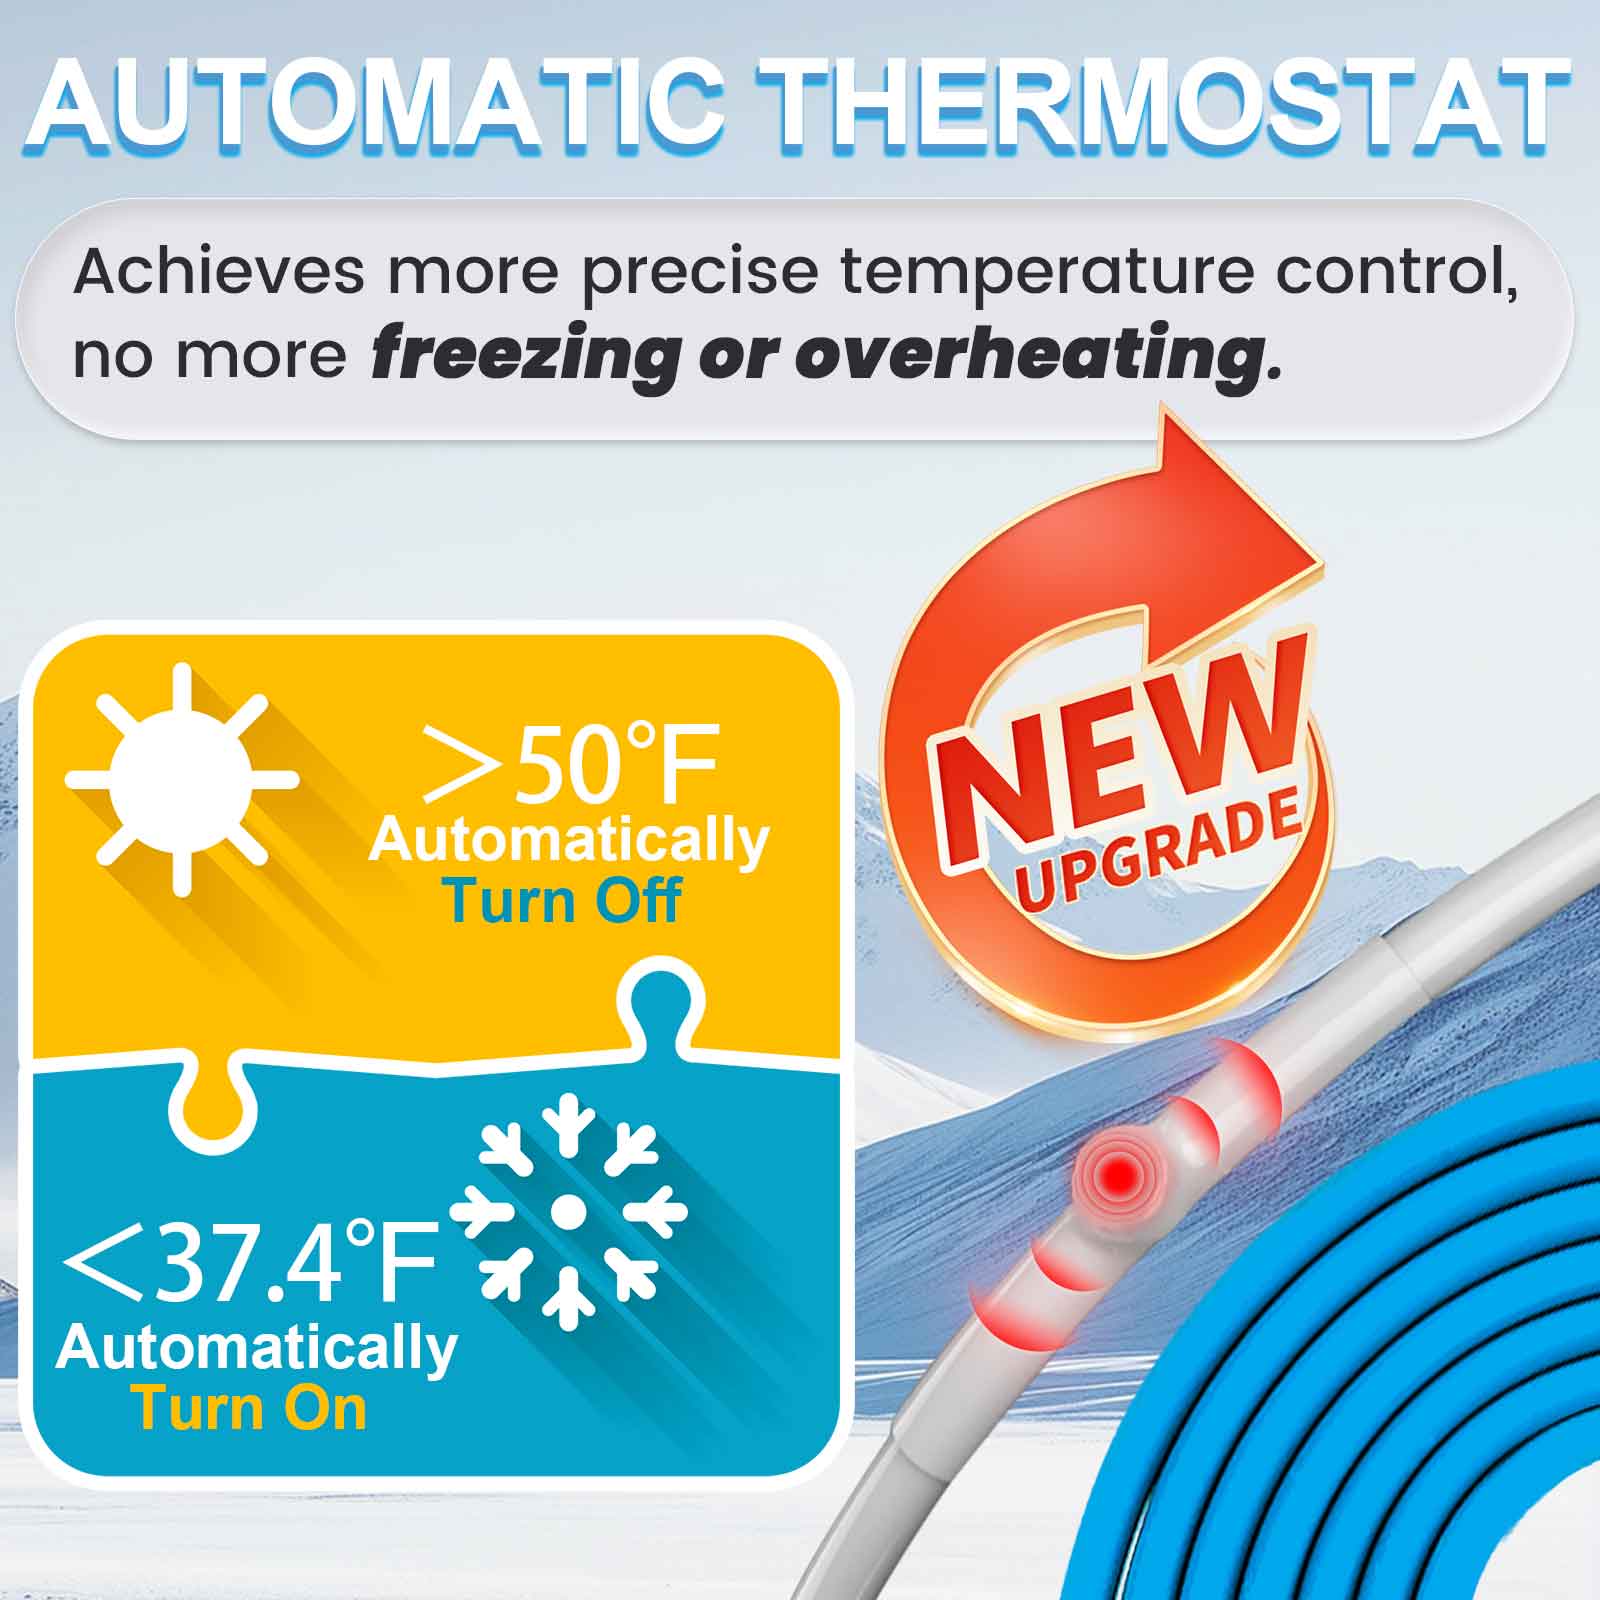
Built-In Thermostat Heating starts near 37°F / 3°C and stops near 50°F / 10°C.
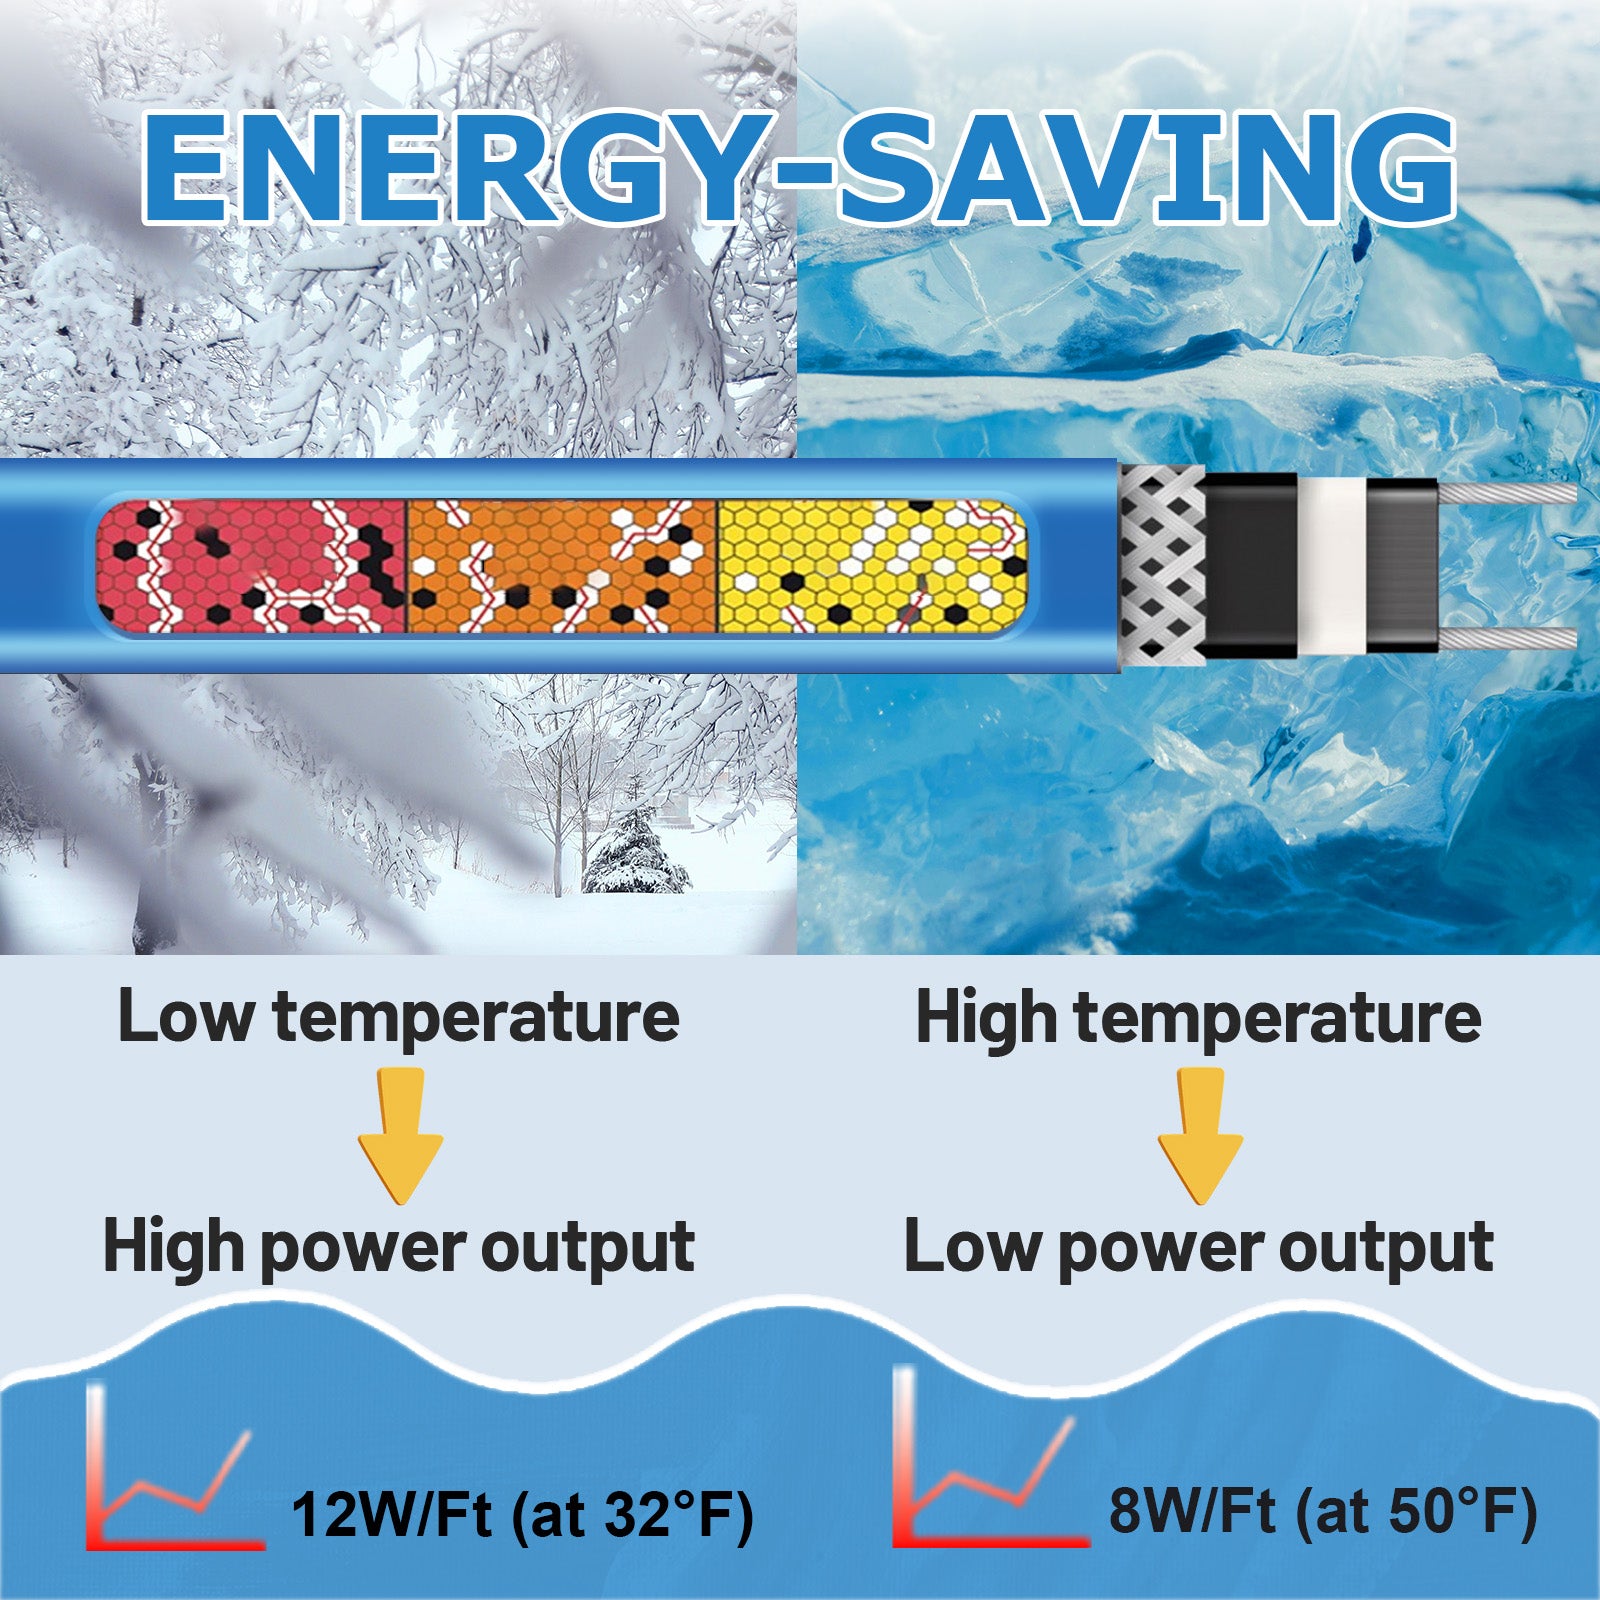
Self-Regulating · 5W/ft Heat output adjusts as the pipe and surrounding temperature change.
External Pipe Use For suitable plastic and metal water pipes up to 2 in diameter.
Quick Buying Check
For pipes, valves, elbows, joints, and suitable water hoses Works with PVC, PEX, ABS, copper, steel, and galvanized pipe 120V plug-in design with 6 ft power cord CSA certified Straight, spiral, or properly overlapped installation Add pipe insulation for better cold-weather performance
Single Indicator or Dual Indicator?
This Standard Version One indicator confirms power. Best for simple, cost-effective pipe freeze protection.
Both versions provide the same heating performance. The only upgrade is the second indicator light.
Add Adjustable Temperature Control
Need a remote pipe sensor and adjustable setpoint? Add the YeloDeer Pipe Heat Tape Thermostat Controller.
The controller automatically switches power according to pipe temperature. The cable’s built-in thermostat still operates, so heating runs only when both controls call for heat.
Important Before You Order
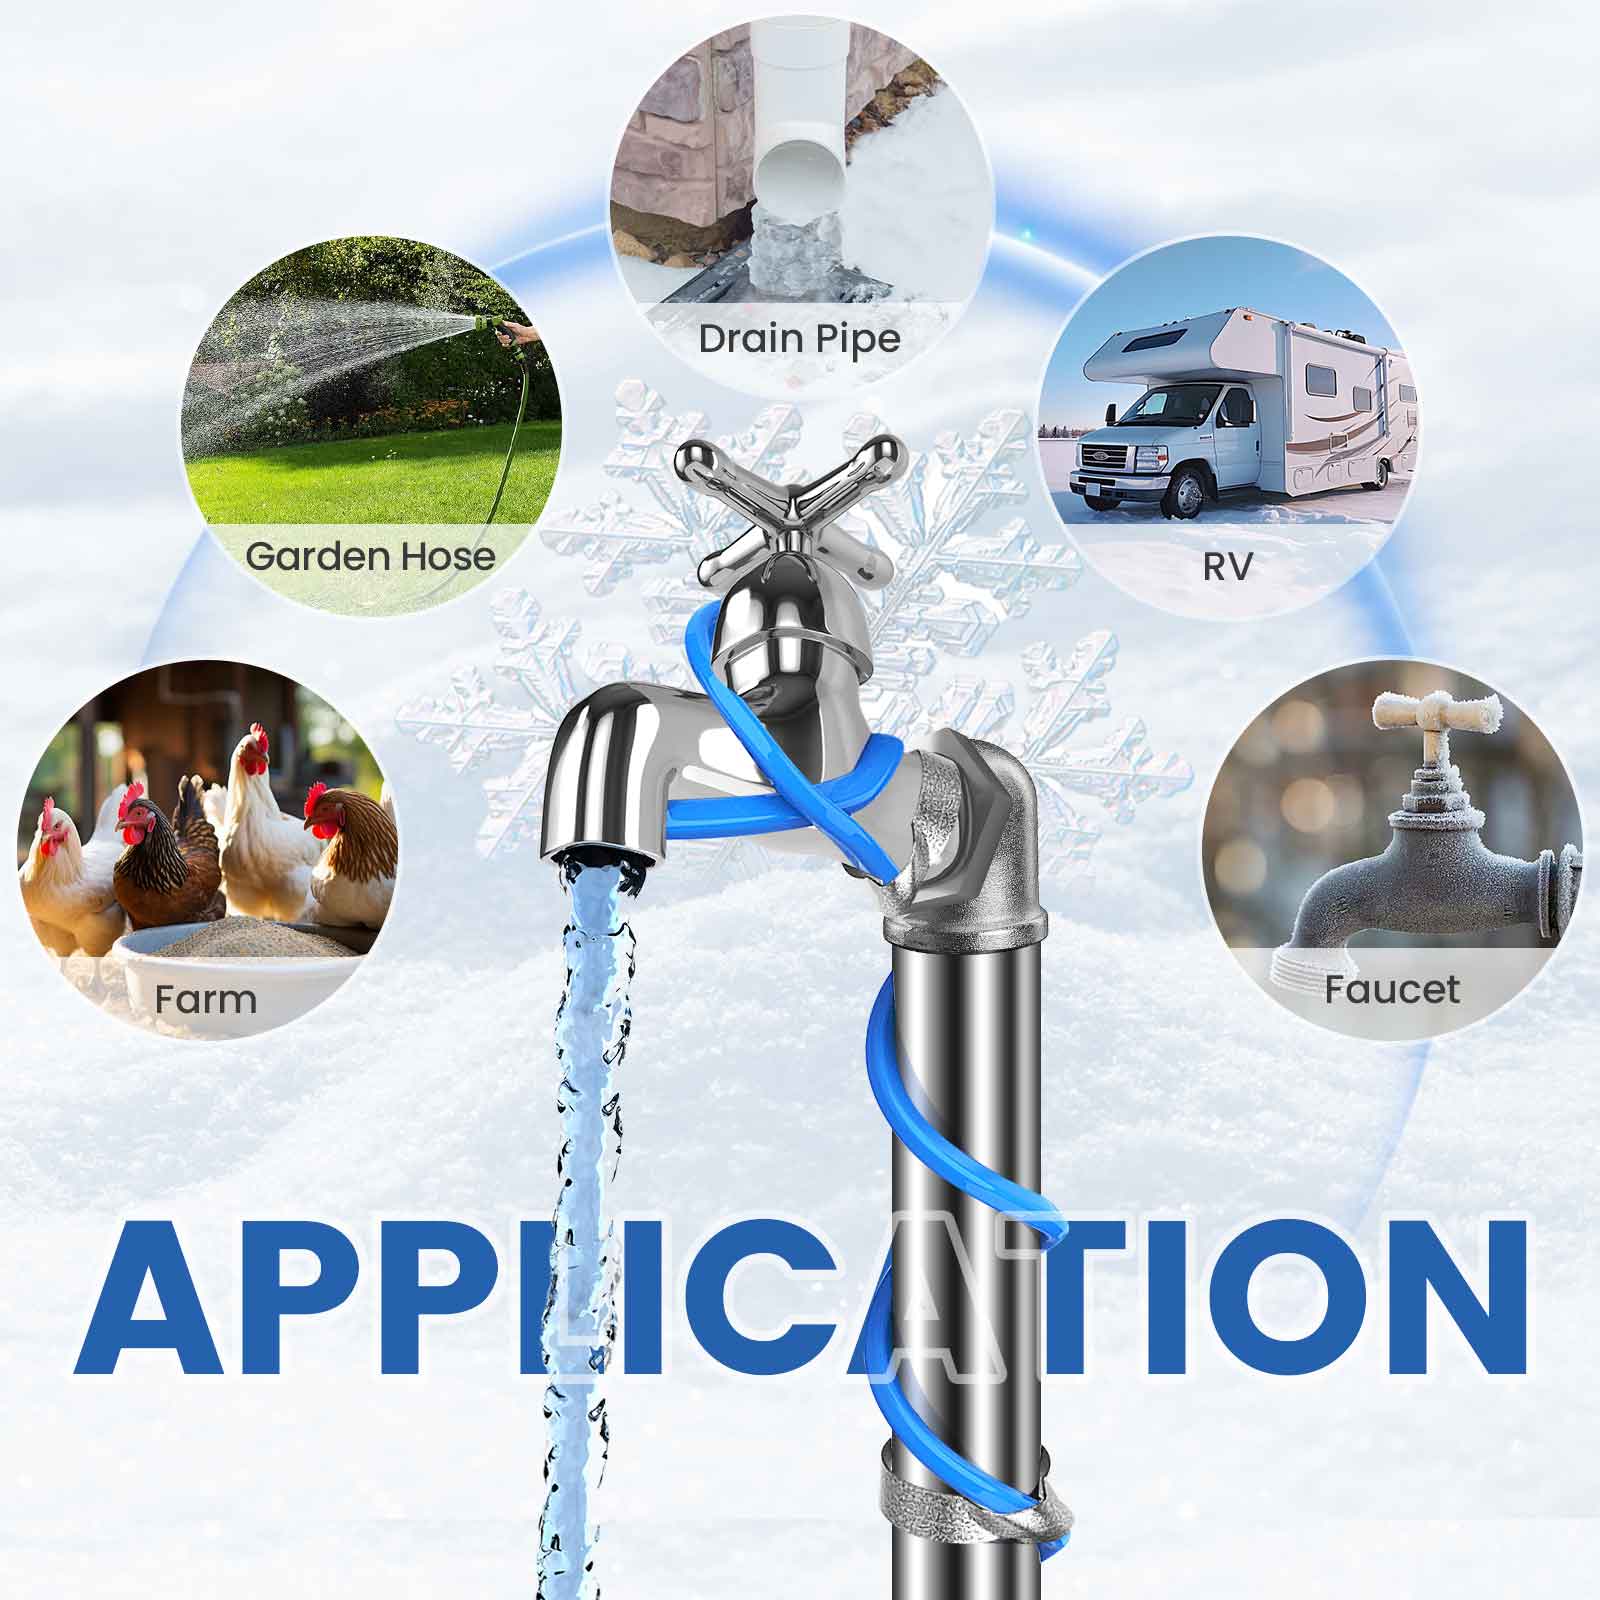
Use It For External water pipes, crawl spaces, basements, farms, RV plumbing, valves, and exposed freeze-risk sections.
Do Not Use It For Inside pipes, drinking-water internal use, long-term submersion, drains, sewer lines, tanks, roofs, or gutters.
Common Pipe Freeze-Protection Jobs
Residential Pipes
Outdoor Water Lines Crawl Spaces Basements Garages Exterior Walls
Farm & Property
Farm Faucets Barn Water Lines Livestock Systems Sprinkler Pipes
RV & Seasonal Plumbing
RV Plumbing Camper Pipes Cabins Suitable Water Hoses
Compatible Materials
PVC PEX ABS Copper Steel Galvanized Pipe
Three Ways to Install
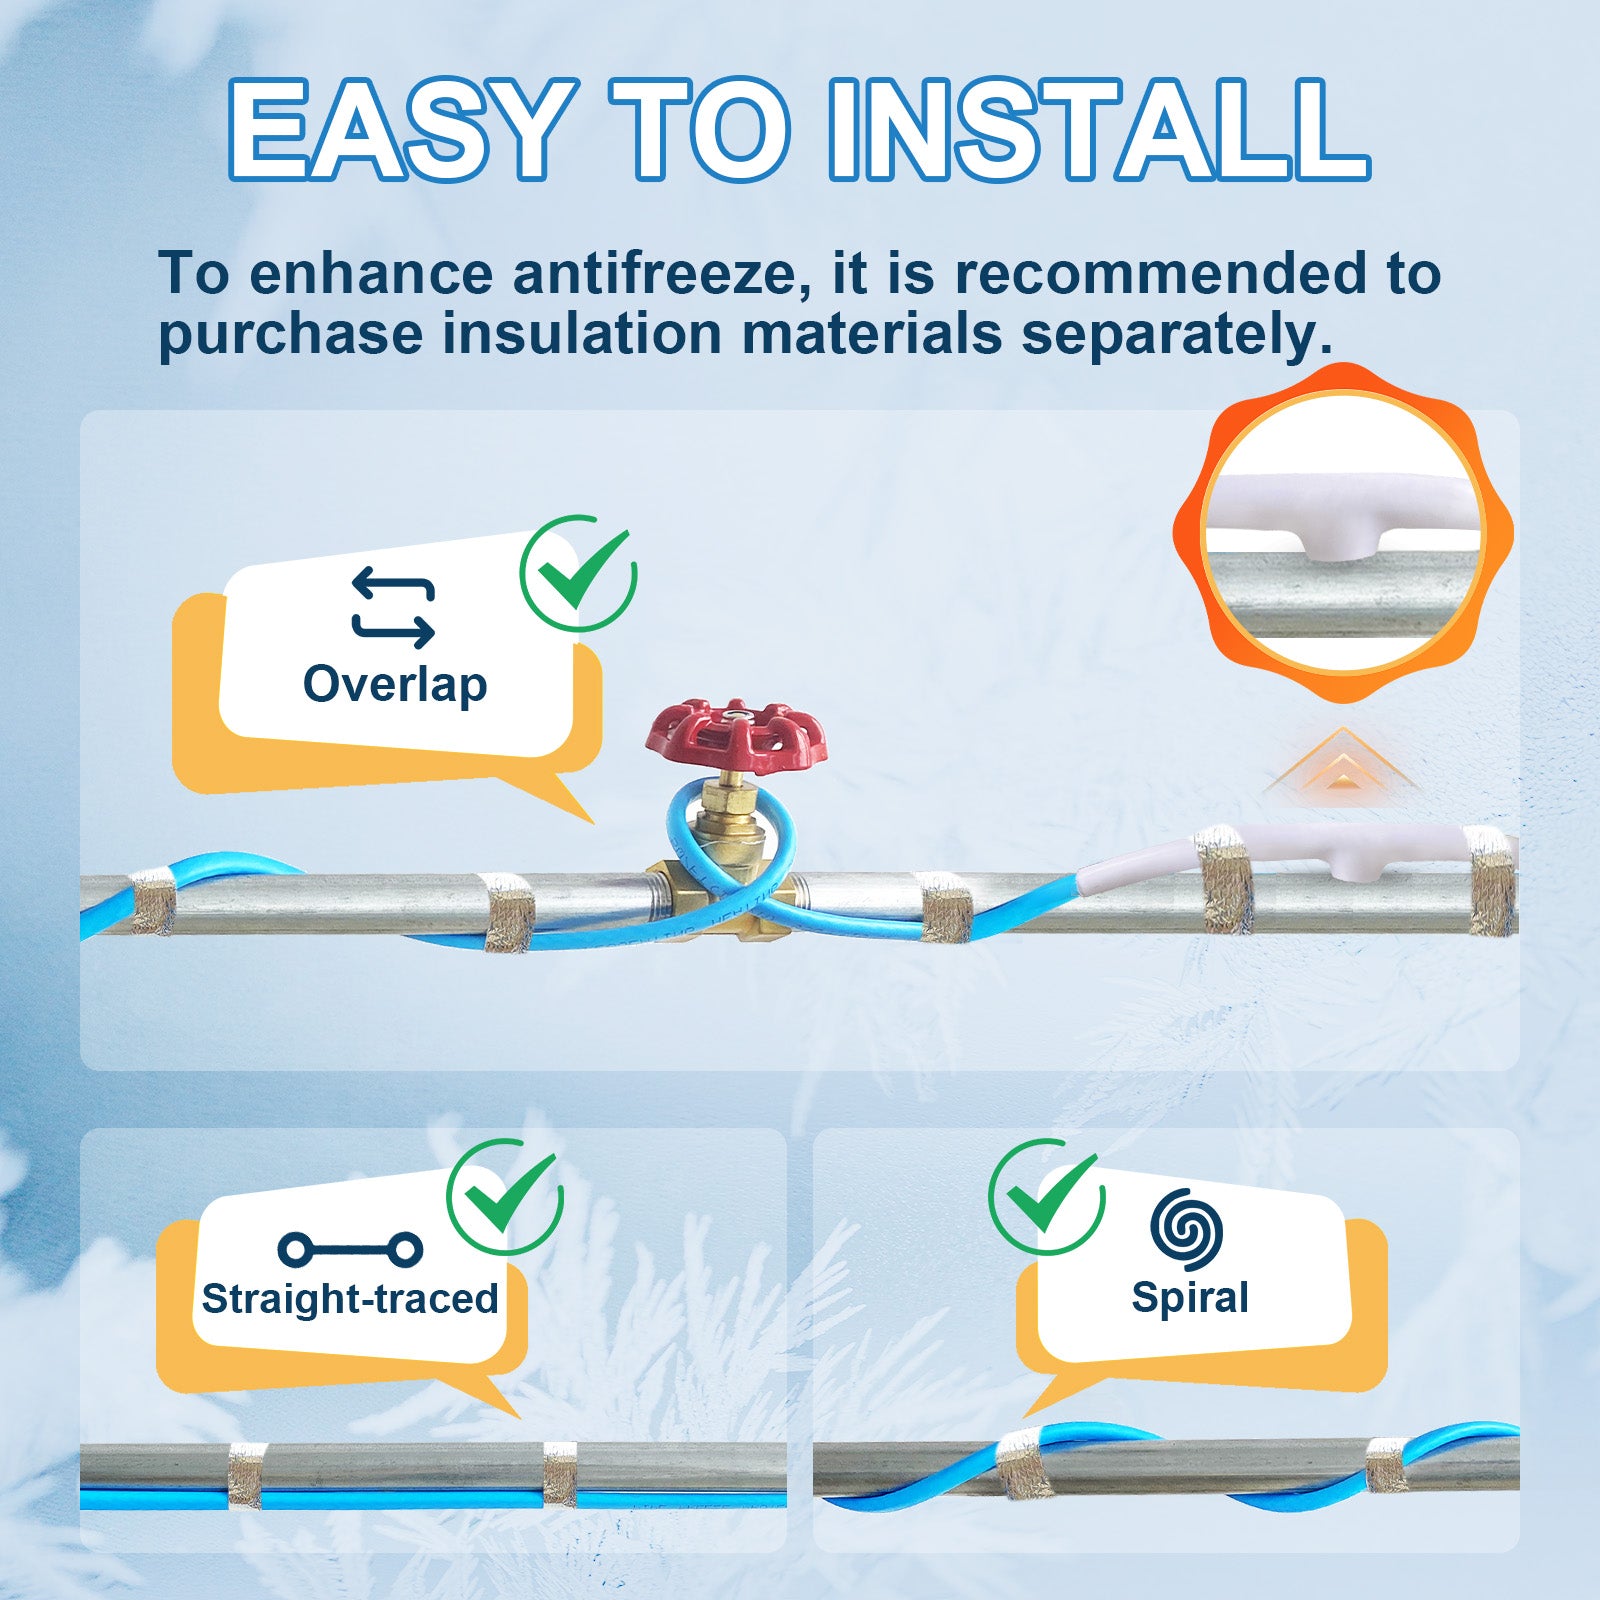
Straight Run the pipe heating cable along the coldest side of the pipe.
Spiral Wrap around the pipe when additional coverage is required.
Overlap Cross the self-regulating cable where necessary without making tight knots.
Focused Coverage Add cable around valves, elbows, joints, and exposed cold spots.
This pipe heat tape is designed for external installation only. It is not a submersible or in-pipe heating cable.
Product Specifications
| Specification |
Details |
| Product Type |
Plug-in self-regulating pipe heating cable with thermostat |
| Version |
Standard single-indicator plug |
| Indicator Light |
Visible power indicator |
| Certification |
CSA certified |
| Voltage |
120V AC |
| Heating Output |
5W/ft |
| Built-In Thermostat |
Approx. 37°F / 3°C ON and 50°F / 10°C OFF |
| Available Lengths |
3, 6, 9, 12, 15, 18, 24, 30, 35, 40, 50, 60, 70, 80, 100, and 120 ft |
| Power Cord |
6 ft |
| Cable Size |
Approx. 0.32 × 0.20 in / 8.2 × 5.0 mm |
| Maximum Stable Cable Temperature |
Approx. 140°F / 60°C |
| Recommended Pipe Size |
Up to 2 in diameter |
| Compatible Pipe Materials |
PVC, PEX, ABS, copper, steel, galvanized pipe, and other suitable plastic or metal water pipes |
| Installation |
Straight, spiral, or properly overlapped external installation |
| Cutting |
May be cut to length when the cut end is properly sealed with a compatible waterproof end seal |
Self-Regulating + Thermostat Control
Self-Regulating Cable Produces more heat in colder areas and reduces output as the pipe becomes warmer.
Built-In Thermostat Starts the heating cycle near 37°F / 3°C and stops it near 50°F / 10°C.
The single indicator confirms power—not active heating. When the pipe is warm, the light may remain visible while the thermostat keeps the heating function off.
Basic Installation
- Disconnect power and inspect the heat tape, plug, thermostat, and pipe.
- Clean and dry the pipe surface.
- Plan the required cable path and spacing.
- Run the cable straight, spiral it, or overlap it properly where needed.
- Secure it with suitable tape or fasteners that will not damage the jacket.
- If the cable is shortened, seal the cut end before connecting power.
- Cover the pipe and cable with suitable pipe insulation.
- Plug it into a properly grounded and protected 120V outlet.
- Keep the plug indicator visible and all connections weather-protected.
Important Installation Rules
Never energize a damaged cable Never operate with an exposed cut end Avoid tight knots, crushing, and sharp bends Do not use metal fasteners that can cut the jacket Keep the plug and outlet out of standing water Use a weatherproof in-use outlet cover outdoors Provide ground-fault protection where required Follow applicable electrical and building requirements
If an extension cord is required, use a suitable outdoor-rated cord—16 AWG or thicker is recommended—and protect the connection from rain, snow, and standing water.
Choose the Right Length
Measure the entire exposed pipe section Add cable for valves, elbows, joints, and cold spots Allow extra length for spiral installation Confirm the distance to the protected 120V outlet Plan insulation after the cable is installed Do not leave unused cable in a tight coil
Need selection help? Email yelodeer@yelodeer.com with the pipe material, diameter, exposed length, lowest winter temperature, installation photos, and insulation plan.