Enjoy free shipping on orders over $30.
We ship orders within 48 hours for quick delivery.
1. Our website accepts Visa, MasterCard, and American Express. If you are using a card issued by another bank, please ensure it is enabled for international transactions.
2. During payment, you may be required to complete 3D Secure (3DS) verification. Please ensure that the cardholder completes the verification to avoid payment failure.
3. If your usual spending amounts are relatively low and you are making a larger purchase, your bank may flag the transaction as a potential risk. If your payment fails, please contact your bank to approve the transaction.
Heat Tape Thermostat Controller for Pipe Freeze Protection
Overview
Heat Tape Thermostat Controller with 15 ft Remote Sensor
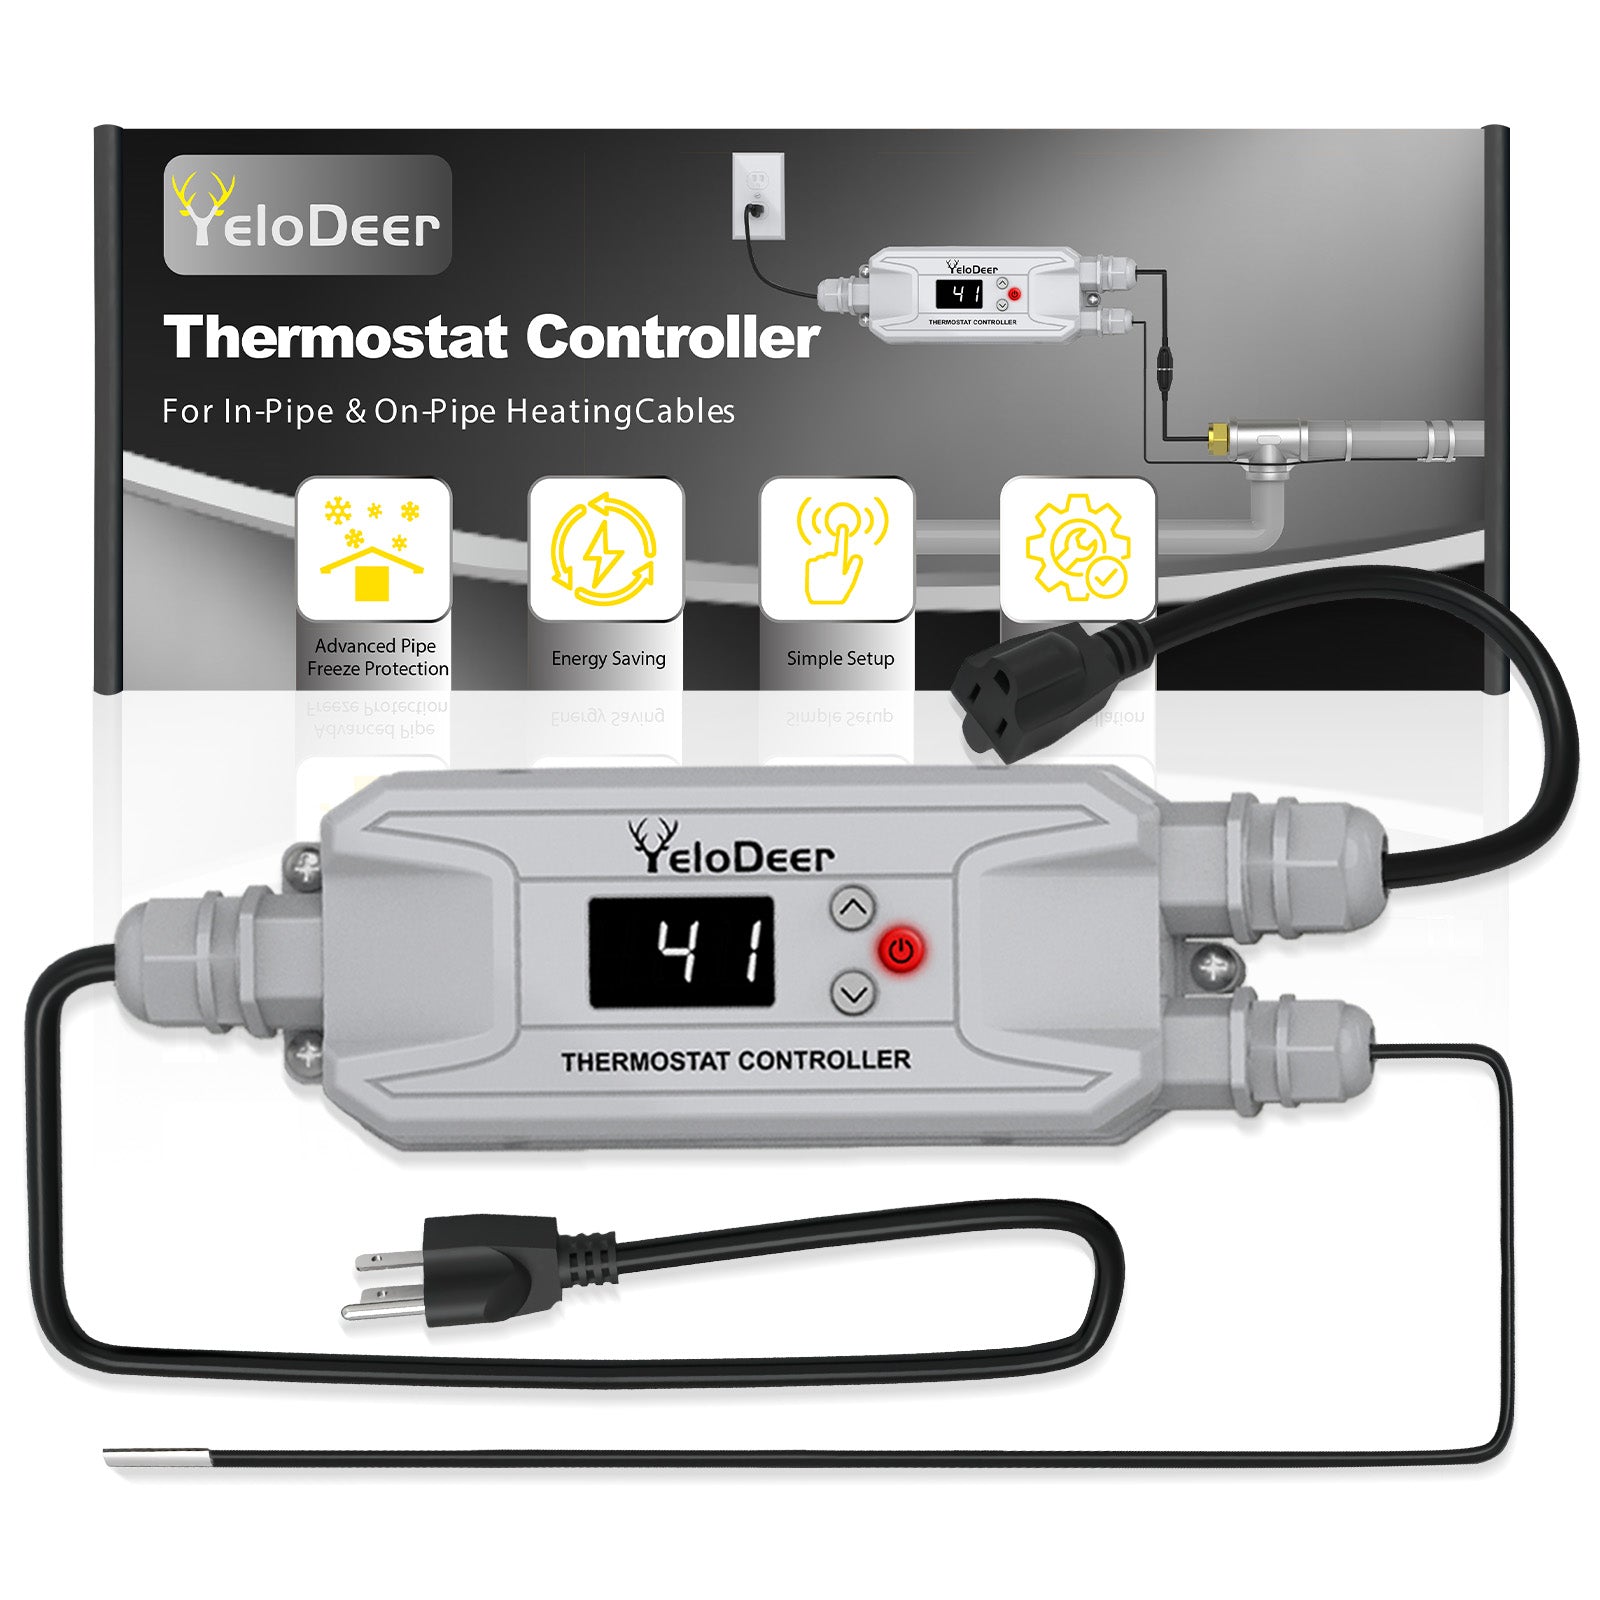
YeloDeer Heat Tape Thermostat Controller automatically controls compatible pipe heating cables based on the temperature measured directly at the pipe.
Instead of relying on room temperature or leaving heat tape continuously powered, the 15 ft remote sensor can be positioned at the pipe location most at risk of freezing.
Choose the 120V Plug-In Version for compatible 110–120V systems or the 208–240V Hardwired Version for compatible higher-voltage pipe heating systems.
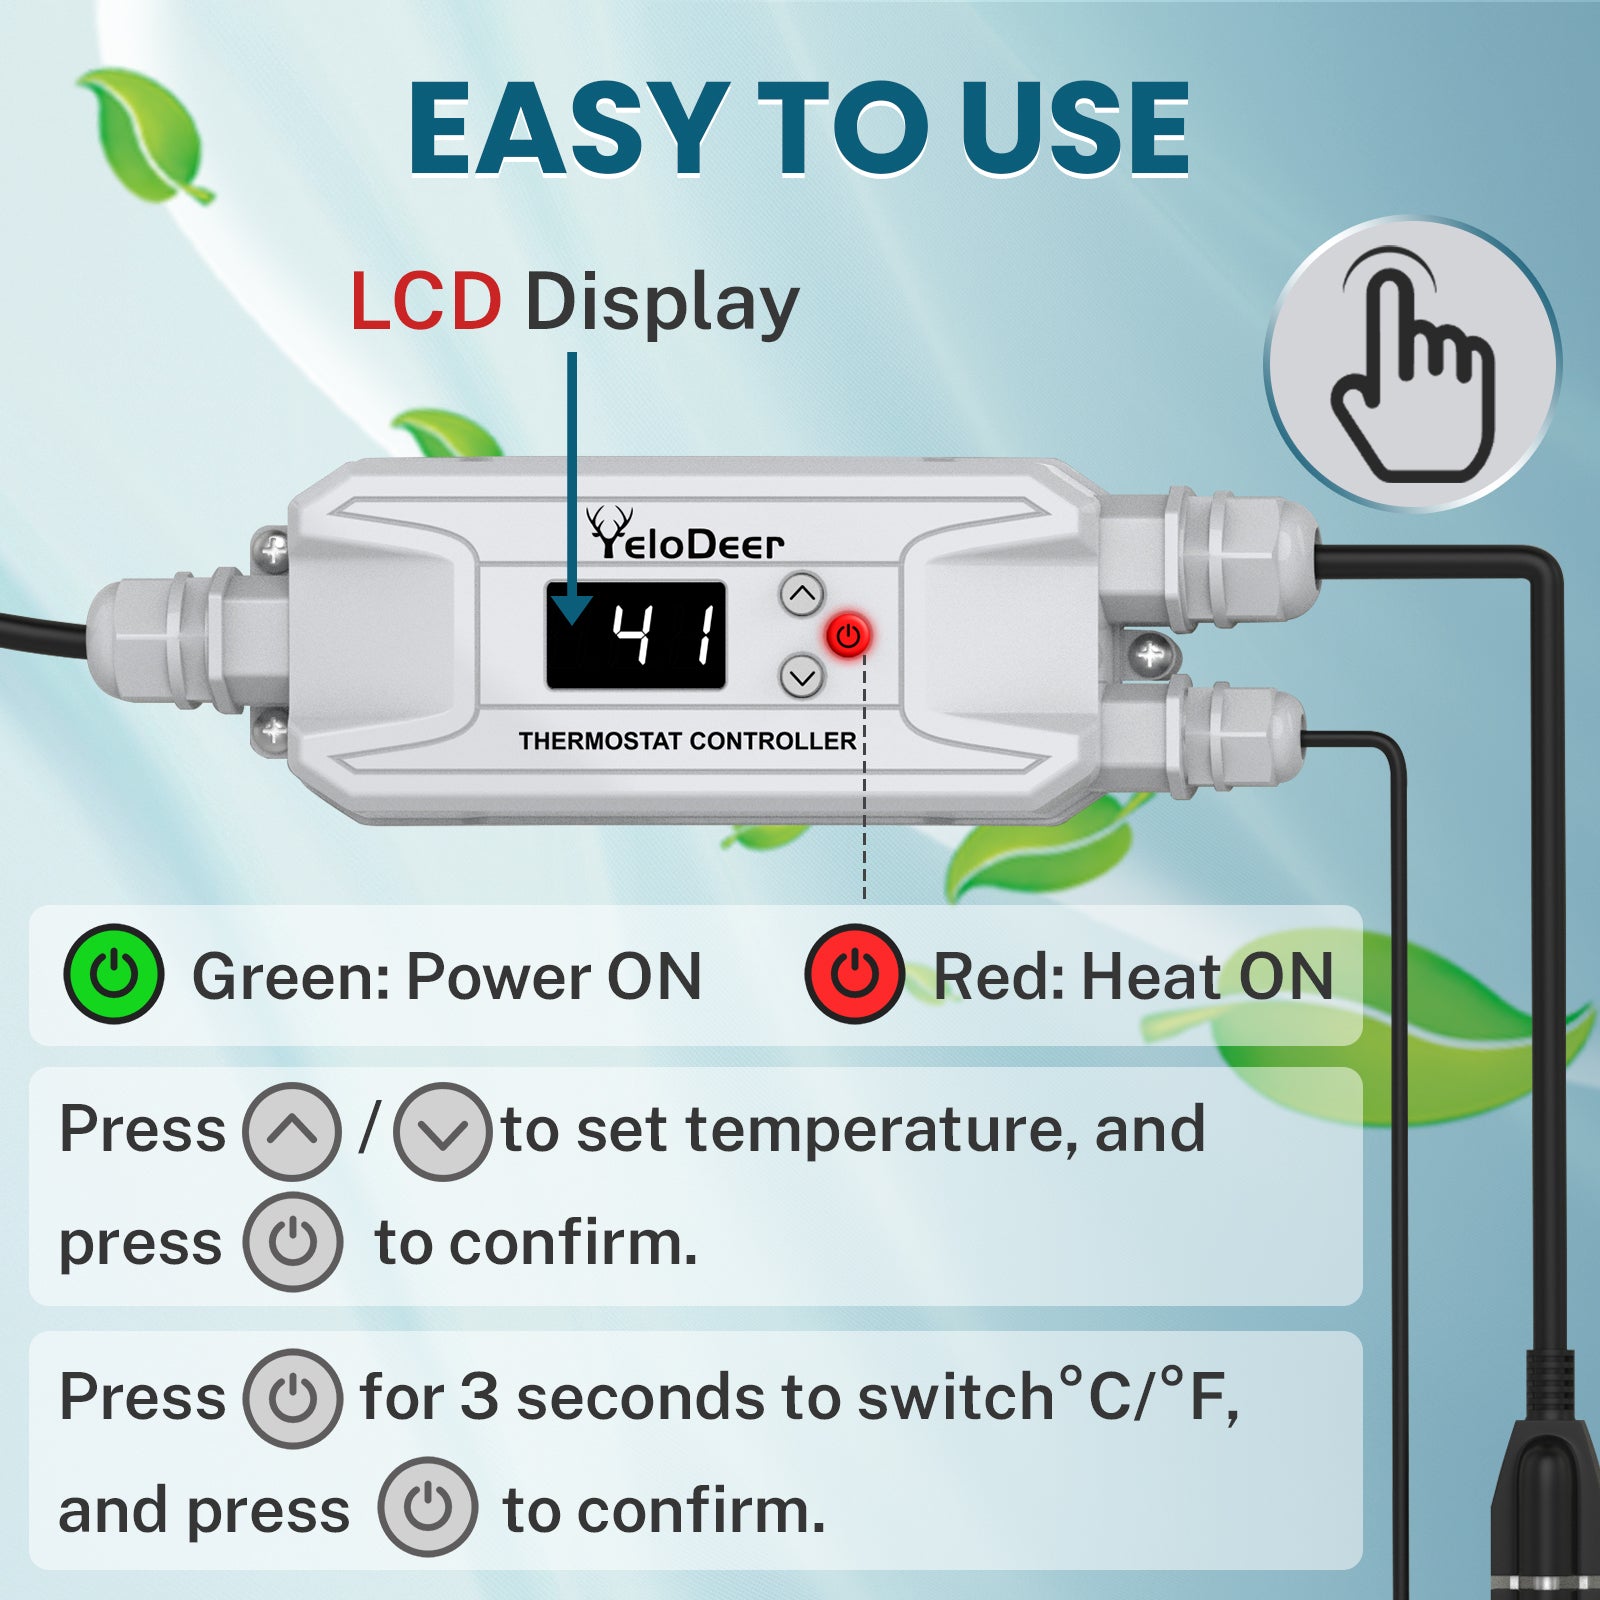
Both versions provide adjustable temperature control, heating-status indication, °F/°C selection, and power-outage memory.
Quick Fit Snapshot
Key Benefits
Why Use a Separate Heat Tape Thermostat?
Some heating cables run whenever power is supplied. Others use a built-in thermostat located near the power connection.
That sensing point may not represent the coldest section of the pipe.
With a 15 ft remote temperature sensor, the YeloDeer controller lets you monitor a more representative freeze-risk location and control the heating cable according to the actual pipe temperature there.
Best For
Choose the Right Voltage
Why the 15 ft Remote Sensor Matters
For pipe freeze protection, the controller should respond to the pipe temperature, not simply the temperature of the surrounding room or air.
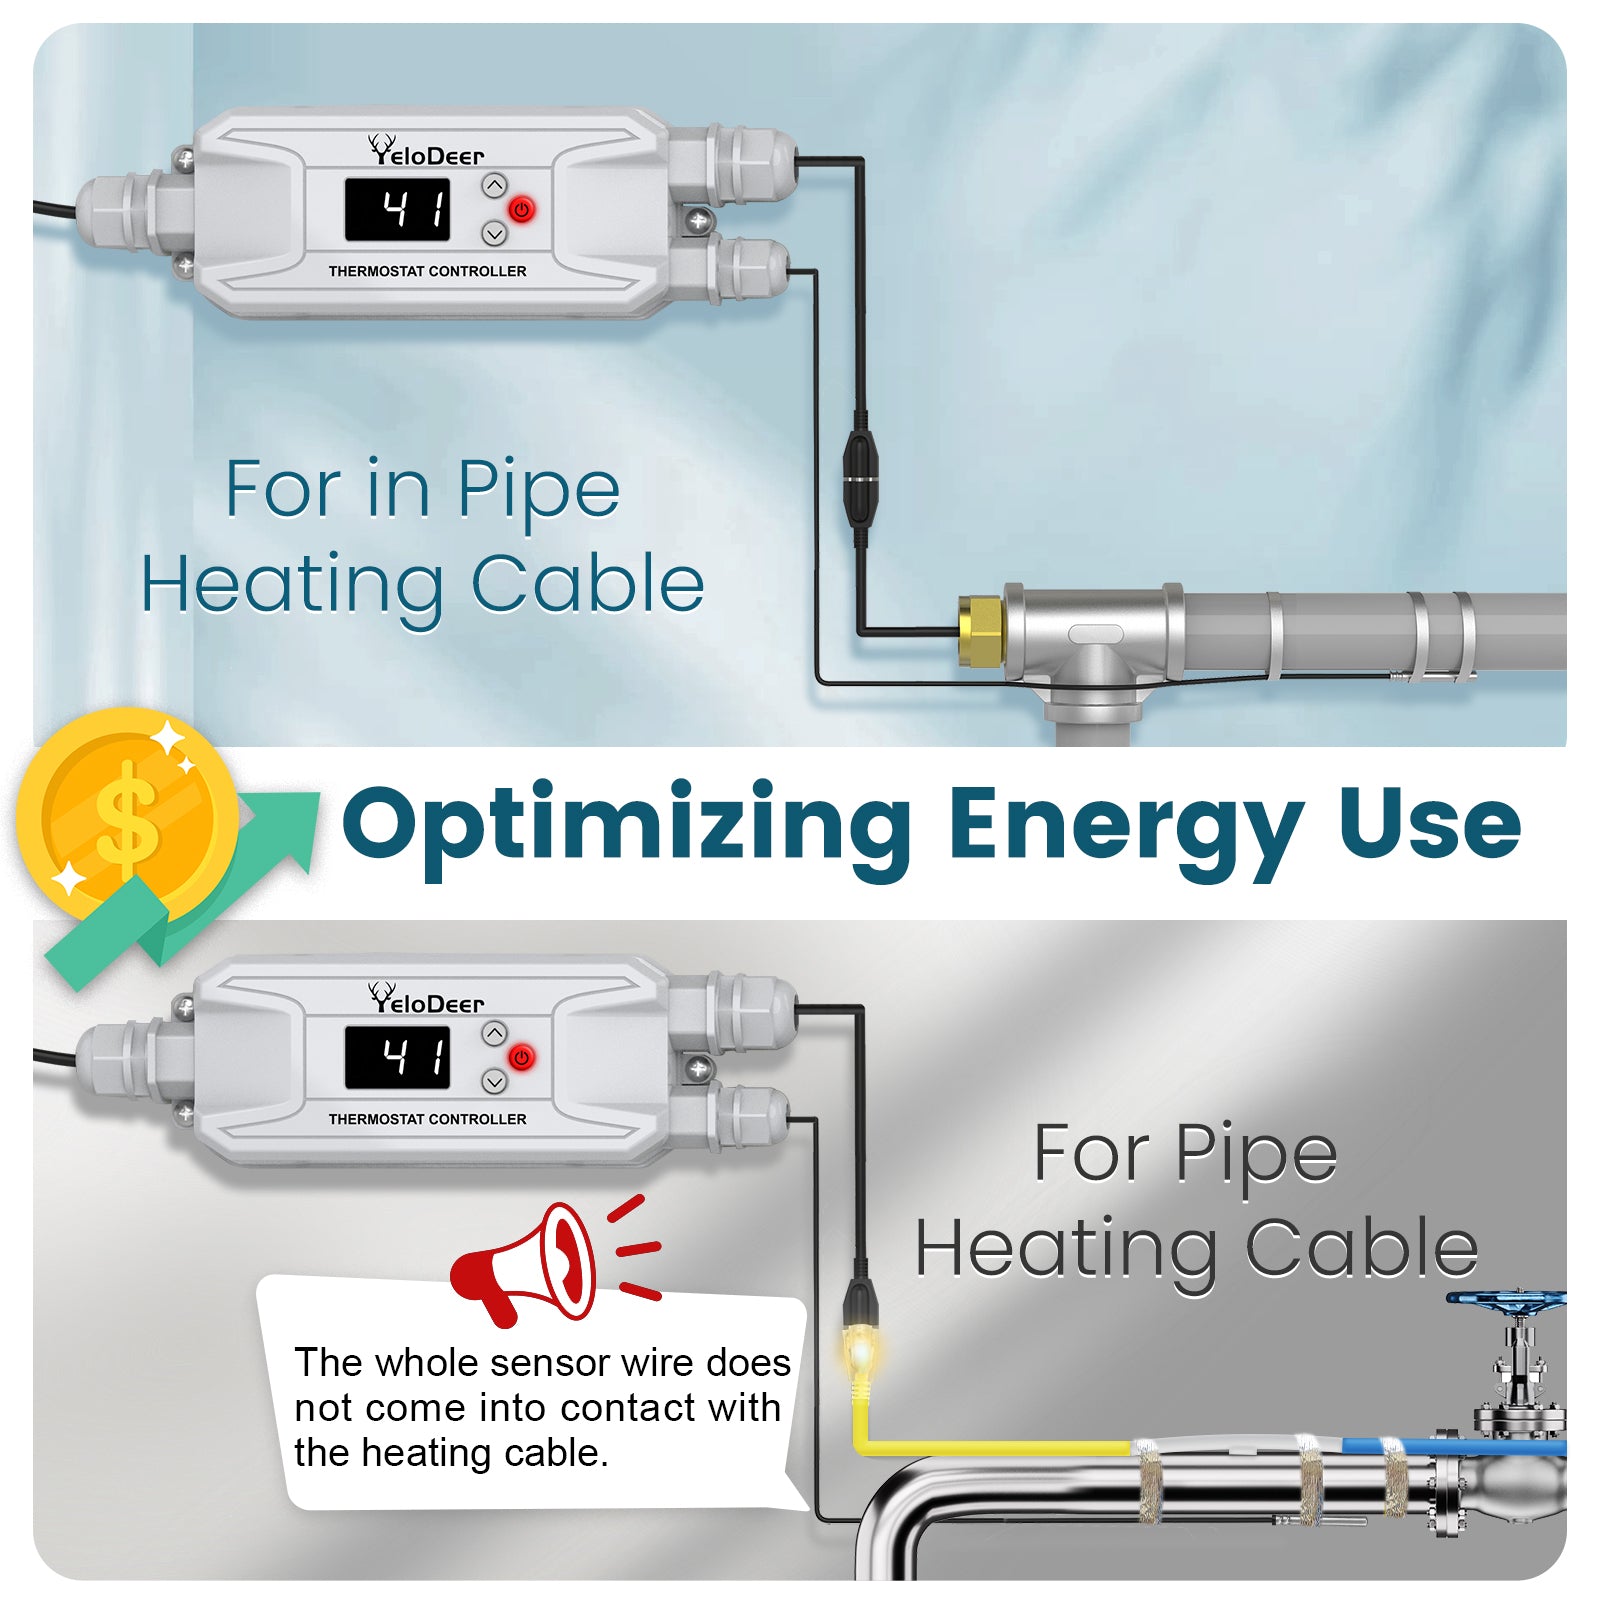
Attach the sensor bulb firmly to the pipe surface at a location that represents the greatest freeze risk.
Keep the sensor away from direct contact with the heating cable. After the heating cable and sensor are correctly positioned, install pipe insulation as required by the heating-cable manufacturer.
How Temperature Control Works
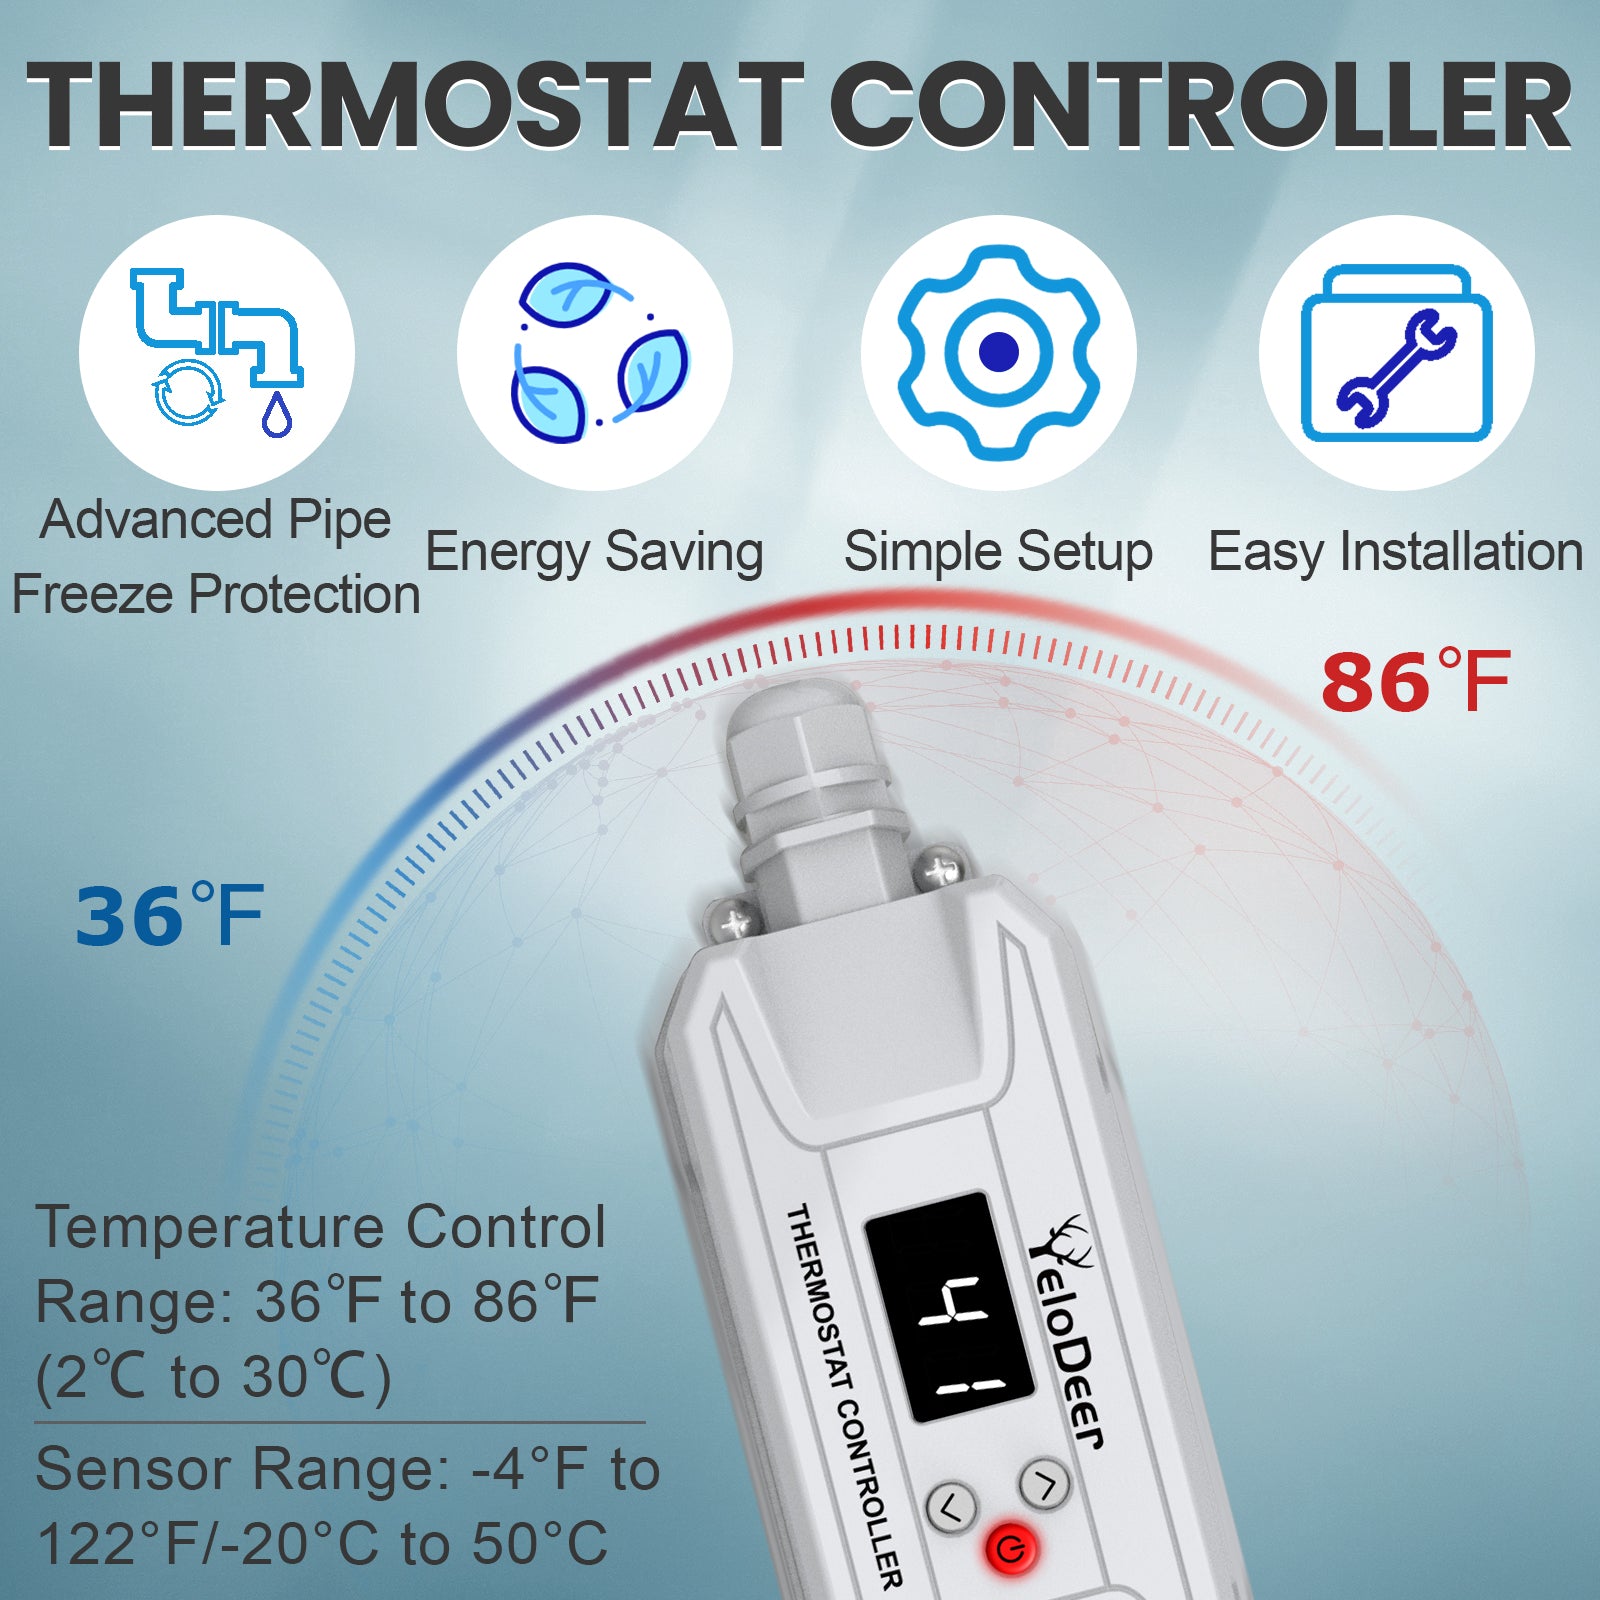
Adjustable range: 36°F to 86°F (2°C to 30°C)
Default setting: 41°F (5°C)
Temperature differential: Approx. ±4°F (±2°C)
For example, when set to 41°F (5°C), heating starts at approximately 37°F (3°C) and stops at approximately 45°F (7°C).
This temperature differential helps prevent rapid ON/OFF cycling around a single temperature point.
Self-Regulating Heating Cable: Check Maximum Circuit Length
Self-regulating heating cable can draw more current during cold start than its normal watts-per-foot rating suggests.
Do not determine maximum heating-cable length simply by dividing the controller's maximum wattage by the cable's nominal W/ft.
Always check the heating-cable manufacturer's Maximum Circuit Length or equivalent sizing information based on cable model, supply voltage, minimum expected start-up temperature, and circuit rating.
The connected heating system must also remain within the controller's 15A maximum rating.
Important Before You Order
Use It For / Do Not Use It For
Best Pairing with YeloDeer Products
This thermostat is a good match for compatible YeloDeer pipe heating cables or heating products that do not already have their own automatic thermostat.
If your heating cable already has a built-in thermostat, an additional thermostat is usually not required. If two thermostats are used together, the heating cable will only operate when both control conditions allow power.
Applications
Recommended Applications
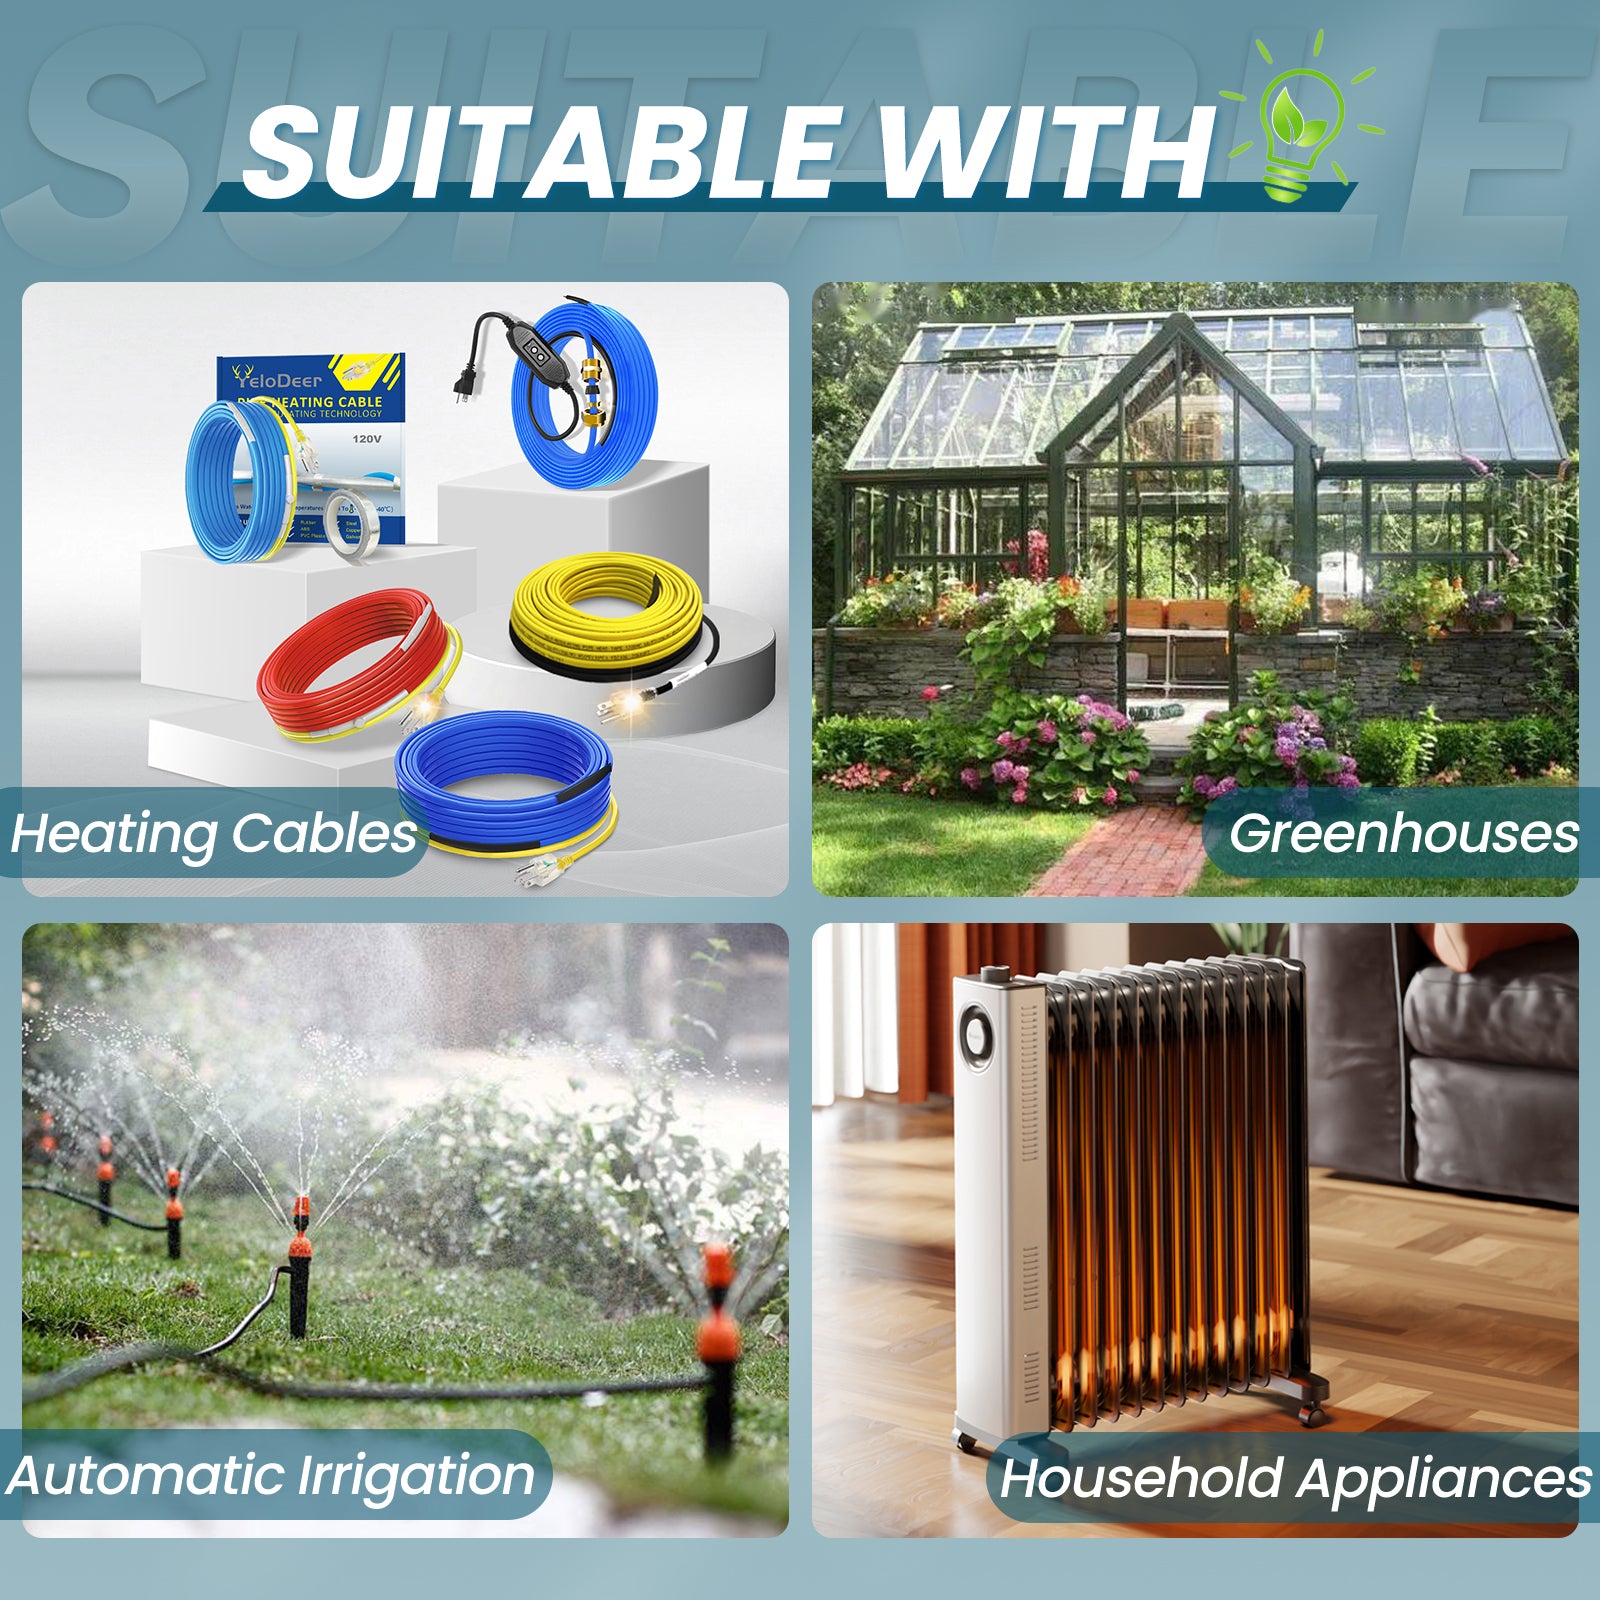
YeloDeer Heat Tape Thermostat Controller is designed primarily for pipe heating and freeze-protection systems that require adjustable temperature-based control.
Pipe Freeze Protection Use
For pipe freeze protection, this controller helps manage heating-cable operation according to the temperature measured at the sensor location.
Compatible Heating Systems
The heating cable does not have to be YeloDeer brand. Always verify voltage, total load, installation method, and compatibility with external thermostat control.
Compatibility Checklist
When Not to Use This Product
- Roof and gutter de-icing control
- Electric radiant floor heating
- Electric baseboard heaters
- HVAC systems
- Heat pump control
- Air conditioners
- Refrigerators or freezers
- Cooling fans
- Compressor-based equipment
- Loads above 15A
- Installations where the controller and electrical connections cannot be properly protected
For roof and gutter heating systems, choose YeloDeer Smart Roof & Gutter De-Icing Controller.
For cooling or fan control, choose YeloDeer Digital Cooling Thermostat Outlet.
Specifications
Product Specifications
| Specification | 120V Plug-In Version | 208–240V Hardwired Version |
| Product Type | Heat Tape Thermostat / Pipe Heating Controller | Heat Tape Thermostat / Pipe Heating Controller |
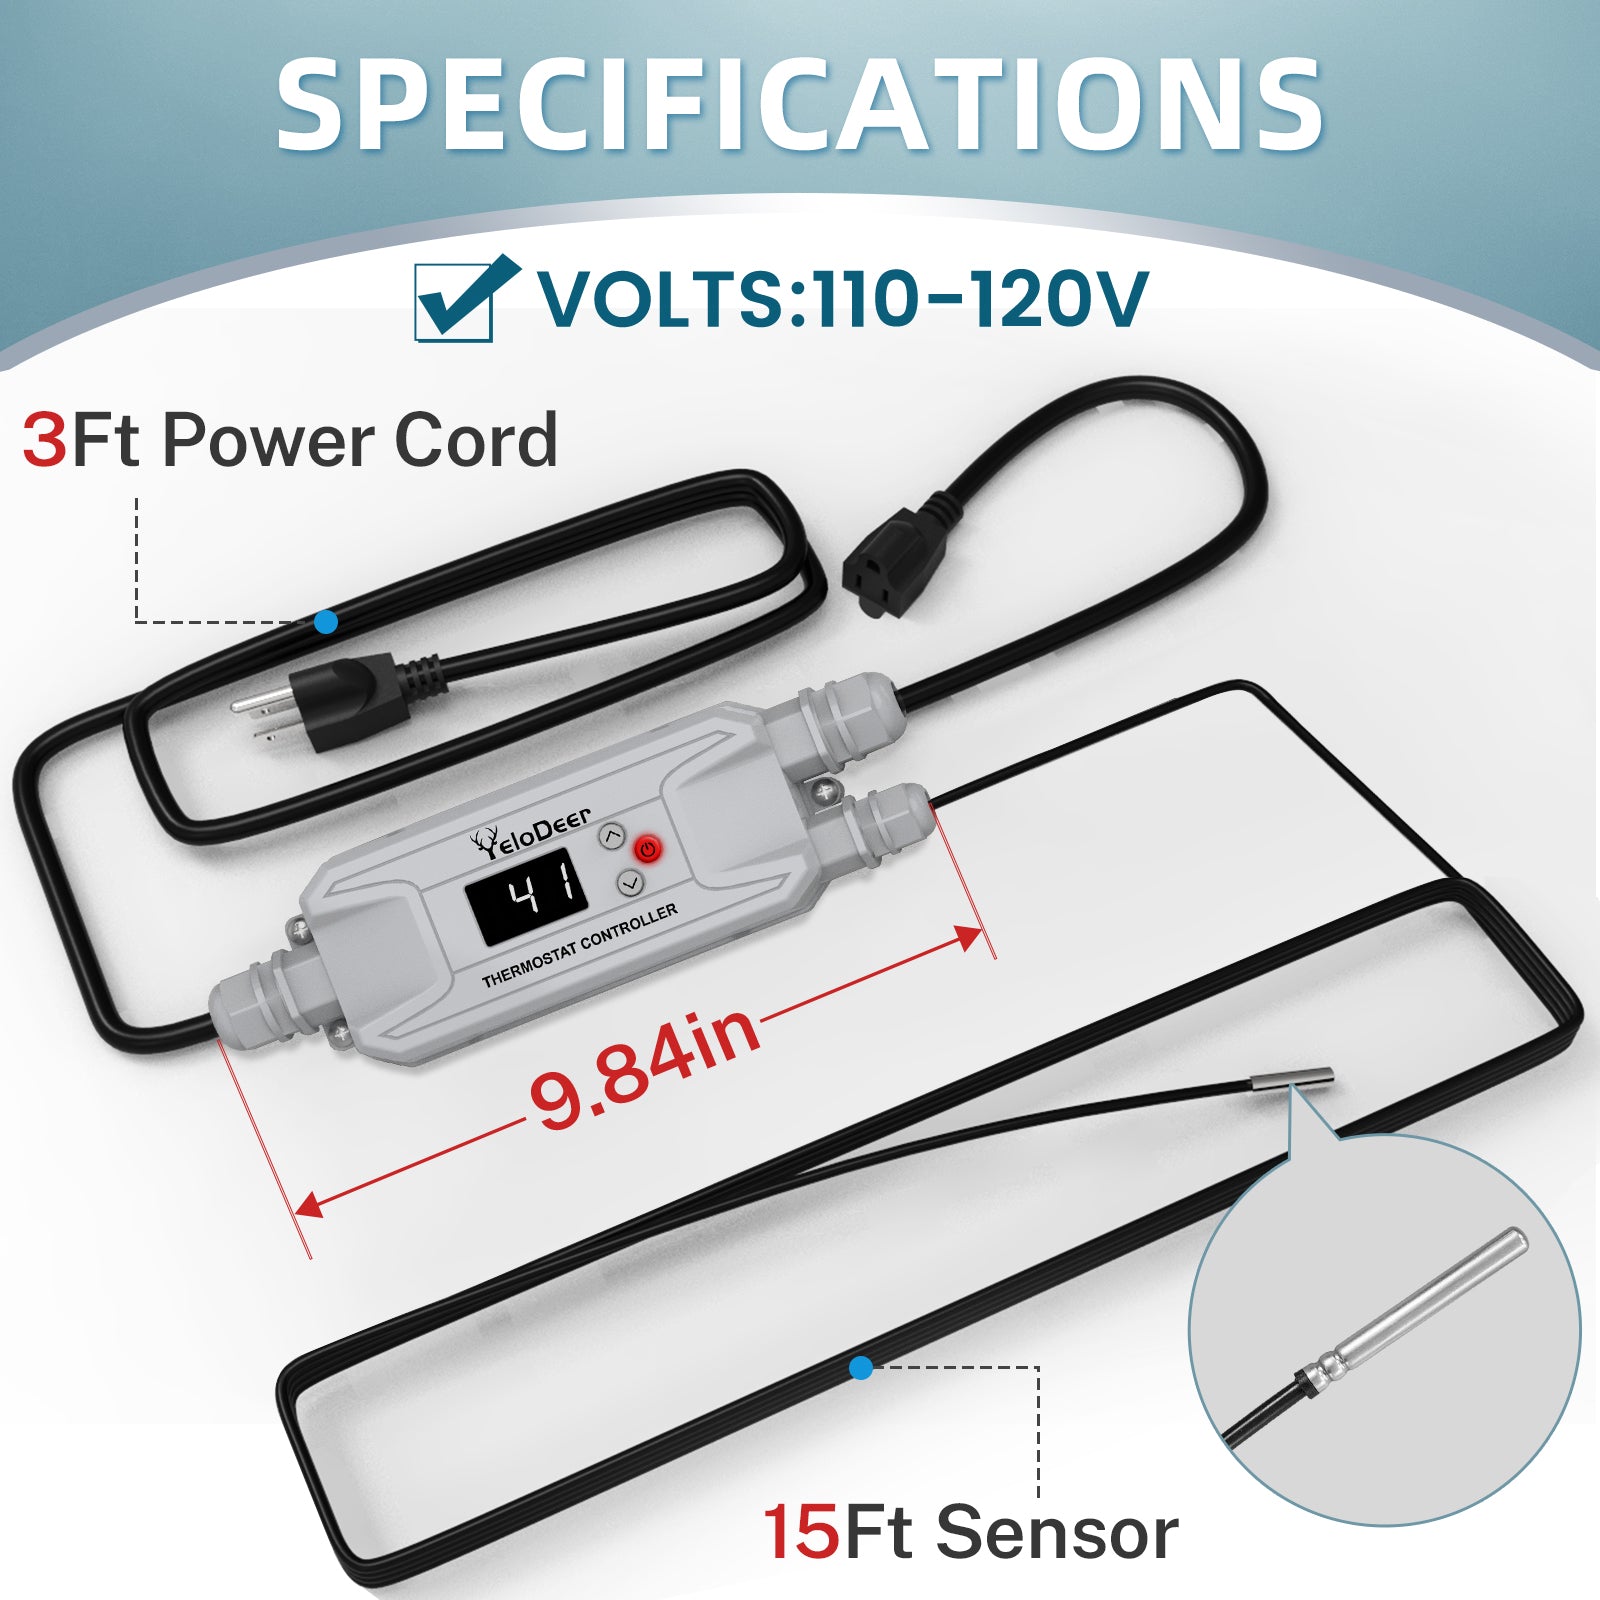
| Rated Voltage | 110–120V AC | 208–240V AC |
| Maximum Current | 15A | 15A |
| Maximum Power | 1800W @ 120V | 3120W @ 208V / 3600W @ 240V |
| Power Input | Grounded Plug | Hardwired |
| Heating Output | Plug-In Receptacle | Hardwired Load / Output Leads |
| Power Lead Length | 3 ft / 0.9 m | 6 ft / 1.8 m |
| Sensor Wire Length | 15 ft / 4.6 m | 15 ft / 4.6 m |
| Sensor Range | -4°F to 122°F (-20°C to 50°C) | -4°F to 122°F (-20°C to 50°C) |
| Adjustable Temperature Range | 36°F to 86°F (2°C to 30°C) | 36°F to 86°F (2°C to 30°C) |
| Default Setting | 41°F (5°C) | 41°F (5°C) |
| Temperature Differential | Approx. ±4°F (±2°C) | Approx. ±4°F (±2°C) |
| °F / °C Selection | Yes | Yes |
| Power-Outage Memory | Yes | Yes |
| Installation | Plug-In | Hardwired / Qualified Electrician |
How Temperature Control Works
The thermostat reads pipe temperature through the 15 ft remote sensor.
When the measured temperature falls approximately 4°F (2°C) below the selected setting, the controller supplies power to the connected heating cable.
When the temperature rises approximately 4°F (2°C) above the selected setting, heating output stops.
For example, at the default setting of 41°F (5°C), heating starts at approximately 37°F (3°C) and stops at approximately 45°F (7°C).
Power-Outage Memory
If the controller was ON before power was interrupted, it returns to ON when power is restored.
If the controller was OFF, it remains OFF after power returns.
The selected temperature setting is retained.
Load Sizing Reminder
Do not exceed the controller's 15A maximum current rating, regardless of voltage.
Maximum controller power is 1800W at 120V, 3120W at 208V, or 3600W at 240V.
For self-regulating heating cable, the wattage rating alone does not determine allowable heating-cable length. Always follow the cable manufacturer's Maximum Circuit Length limits.
Self-Regulating Cable Sizing
Self-regulating heating cable may draw significantly more current during a cold start than its normal operating watts-per-foot value suggests.
Installation
Before Installation
Step 1: Install the Heating Cable
Install the pipe heating cable according to the heating-cable manufacturer's instructions.
The thermostat does not replace correct heating-cable installation, circuit sizing, required electrical protection, or required pipe insulation.
Step 2: Position the Temperature Sensor
Attach the sensor bulb firmly to the pipe surface at a representative freeze-risk location.
- Place the sensor directly against the pipe.
- Choose a location that represents the greatest freeze risk.
- Keep the sensor away from direct contact with the heating cable.
- Secure the sensor using aluminum foil tape.
- Make sure there is good pipe-to-sensor contact with no significant air gap.
- Install pipe insulation over the pipe, heating cable, and sensor as required.
Do not leave the sensor hanging in warmer surrounding air when the pipe itself may be colder.
Do not cut, splice, shorten, extend, kink, crush, or otherwise modify the 15 ft sensor wire.
120V Plug-In Installation
- Install the compatible 120V heating cable according to its instructions.
- Attach the 15 ft sensor correctly to the pipe.
- Plug the heating cable into the thermostat output receptacle.
- Plug the thermostat into a properly grounded and appropriately protected 110–120V AC receptacle.
- Turn on the controller.
- Set the desired temperature.
- Confirm that the heating cable switches on and off as expected.
- Check the complete system before severe winter weather.
120V Plug-In Version maximum: 15A / 1800W at 120V.
208–240V Hardwired Installation
The 208–240V Hardwired Version must be installed by a qualified electrician.
This version uses hardwired power input and hardwired heating-cable output. It is not a plug-in controller.
- Disconnect power before beginning installation.
- Install the compatible heating cable according to its instructions.
- Attach the 15 ft sensor correctly to the pipe.
- Connect the heating cable to the controller load/output leads inside an approved junction box.
- Connect the controller power/input leads to the 208–240V AC supply.
- Connect L1, L2, and Equipment Ground according to the product wiring diagram.
- No Neutral connection is used.
- Secure, insulate, and enclose all electrical connections before restoring power.
- Restore power and test controller operation.
208–240V Hardwired Version maximum: 3120W at 208V / 3600W at 240V / 15A.
Using with Pipe Insulation
For typical pipe freeze-protection installations, install the heating cable and temperature sensor correctly before adding insulation.
Follow the heating-cable manufacturer's instructions for insulation type, thickness, installation method, and any temperature limitations.
Ground-Fault and Circuit Protection
The thermostat controller does not replace required branch-circuit overcurrent protection or ground-fault protection.
Provide the protection required by applicable electrical codes and by the connected heating-cable manufacturer's instructions.
For the 208–240V Hardwired Version, have a qualified electrician determine and install the appropriate supply circuit, grounding, overcurrent protection, ground-fault protection, junction boxes, and other required electrical components.
Controller Location
Install the controller in a suitable protected location.
Keep the controller and electrical connections protected from direct weather, standing water, and other wet conditions.
Do not assume the controller replaces weatherproof receptacles, junction boxes, enclosures, covers, or other protection required for the installation.
Power-Outage Memory
If the controller was ON before power loss, it returns to ON when power is restored.
If it was OFF before the power loss, it remains OFF when power returns.
The selected temperature setting is also retained.
FAQ
Product Basics
What is a heat tape thermostat controller?
A heat tape thermostat controller uses a temperature sensor to switch compatible pipe heating cable on and off according to the selected temperature setting.
It helps provide automatic freeze-protection control instead of leaving the heating cable continuously powered.
Is this a heat tape thermostat or a heat tape controller?
Both terms are commonly used for this type of product.
The YeloDeer controller senses pipe temperature and controls power to compatible heat tape or heating cable.
Do I need this controller if my heating cable already has a built-in thermostat?
Usually not.
A heating cable with its own built-in thermostat may already provide automatic temperature control.
This controller is most useful for heating cables without built-in thermostat control or when you want the temperature sensor located at a specific remote point on the pipe.
If two thermostats are used together, the heating cable will only operate when both control conditions allow power.
Can this thermostat reduce electricity use?
It can reduce unnecessary heating runtime compared with leaving a compatible heating cable continuously energized.
Actual energy use depends on heating-cable load, insulation, outdoor conditions, temperature setting, and operating time.
Voltage & Compatibility Questions
Does it work with both 120V and 240V heat tape?
Yes. Choose the correct controller version.
Use the 120V Plug-In Version for compatible 110–120V heating cable.
Use the 208–240V Hardwired Version for compatible 208V or 240V heating systems.
The controller voltage, heating cable voltage, and power supply voltage must match.
Can I plug in the 208–240V version?
No.
The 208–240V version is designed for hardwired installation and must be installed by a qualified electrician.
Can I use the thermostat with another brand of heat tape?
Yes, provided the heating cable is compatible with external thermostat control and matches the controller's voltage and load limits.
Always check the heating-cable manufacturer's instructions before installation.
Can I use it with self-regulating heating cable?
Yes.
Self-regulating heating cable must also be sized according to the manufacturer's Maximum Circuit Length because cold-start current may be higher than normal operating current.
Can I use it with constant-wattage heating cable?
Yes, if the heating cable is suitable for external thermostat control, matches the controller voltage, and remains within the controller's 15A rating.
Temperature Control & Sensor Questions
Where should I place the 15 ft temperature sensor?
Attach the sensor directly to the pipe at a location that represents the greatest freeze risk.
This may be a colder exposed section, an area near an exterior wall, or another section that cools faster than the rest of the pipe.
Should the sensor touch the heating cable?
No.
The sensor should sense the pipe temperature, not the heating cable temperature.
Direct contact with the heating cable may cause the sensor to read artificially high temperatures and affect controller operation.
Should the sensor be installed under pipe insulation?
For typical pipe freeze-protection installations, yes.
Secure the heating cable and sensor correctly to the pipe first, then install insulation according to the heating-cable manufacturer's instructions.
Can I cut or extend the 15 ft sensor wire?
No.
Do not cut, shorten, splice, extend, kink, crush, or otherwise modify the sensor wire.
What temperature should I set for pipe freeze protection?
The appropriate setting depends on pipe location, insulation, exposure, and the heating system.
The controller defaults to 41°F (5°C) and can be adjusted from 36°F to 86°F (2°C to 30°C).
Why doesn't heating start exactly at the set temperature?
The controller uses an approximate ±4°F (±2°C) differential.
For example, when set to 41°F (5°C), heating starts at approximately 37°F (3°C) and stops at approximately 45°F (7°C).
This helps prevent rapid ON/OFF cycling around a single temperature point.
Heating Cable Length & Load Questions
How much heat tape can one thermostat control?
There is no single maximum footage.
Allowable heating-cable length depends on:
- Cable model
- Supply voltage
- Watts per foot
- Cold-start characteristics
- Minimum start-up temperature
- Manufacturer's Maximum Circuit Length
The total load through the YeloDeer controller must not exceed 15A.
Can I divide the controller's wattage by the cable's W/ft to determine maximum length?
Not for self-regulating heating cable.
That calculation does not account for cold-start current.
Use the heating-cable manufacturer's Maximum Circuit Length table or equivalent sizing instructions.
My cable manufacturer lists 15A, 20A, 30A, and 40A circuit lengths. Which should I use?
The YeloDeer thermostat has a 15A maximum rating.
Do not use a heating-cable length that depends on a circuit capacity greater than the controller's 15A capability.
Installation & Electrical Questions
Can the controller be installed outdoors?
Install the controller in a suitable protected location.
Keep the controller and all electrical connections protected from direct weather, standing water, and other wet conditions.
Do not assume the controller replaces weatherproof receptacles, junction boxes, enclosures, or other protection required for the installation.
Does the 208–240V version require an electrician?
Yes.
The 208–240V Hardwired Version must be installed by a qualified electrician.
Does the 208–240V controller require Neutral?
No.
The controller uses L1, L2, and Equipment Ground for the 208–240V power circuit.
What circuit protection does the thermostat need?
The controller does not replace required branch-circuit overcurrent or ground-fault protection.
Follow the connected heating-cable manufacturer's instructions and applicable electrical codes.
Have a qualified electrician determine the required protection when necessary.
Power & Troubleshooting Questions
Will the thermostat restart after a power outage?
Yes.
If the controller was ON before power was lost, it returns to ON when power is restored.
If it was OFF before the outage, it remains OFF.
The selected temperature setting is also retained.
What do the indicator lights mean?
Green ON: Controller power is ON.
Green OFF: Controller is OFF or not energized.
Red ON: Heating output is ON.
Red OFF: Heating output is OFF.
Why is my heating cable not turning on?
Check the following:
- Pipe temperature may still be above the heating start point
- Temperature setting may be too low
- Sensor may be installed in a warmer location
- Heating cable may not be connected correctly
- Power supply or breaker may be off
- Required ground-fault protection may have tripped
- Heating cable may have its own thermostat that is not calling for heat
- Sensor or heating cable may be damaged
What information should I send YeloDeer if I need compatibility help?
Please email yelodeer@yelodeer.com with:
- Heating cable brand and model
- Supply voltage: 120V, 208V, or 240V
- Cable wattage or amperage
- Cable length
- Whether the cable is self-regulating or constant-wattage
- Whether it already has a built-in thermostat
- Pipe and installation photos
- Planned sensor location
Our team can help review your application before you order.
Guides
These guides provide additional help with heating-cable sizing, pipe installation, circuit planning, and freeze-protection system design.
If your application involves a longer self-regulating heating-cable run, a custom pipe-heating system, or a 208–240V installation, review the relevant guide before selecting the controller and heating cable.
Learn why self-regulating heating cable cannot always be sized using watts per foot alone.
This guide explains how voltage, minimum start-up temperature, circuit rating, and cold-start current affect the maximum permitted heating-cable length.
Review the basic installation methods for YeloDeer on-pipe and in-pipe heating systems.
Use this guide to understand heating-cable placement, pipe insulation, fittings, and other installation considerations before starting your project.
Learn when heating cable may help with a frozen pipe, why thawing and freeze prevention are different problems, and how insulation, cable placement, and temperature control affect the system.
Planning a longer or more complex pipe-heating project?
This guide explains how to plan heating zones, cable routing, circuit length, voltage, and control methods for cut-to-length self-regulating heating cable.
Customer Installation Reference
The installation photo below shows a YeloDeer pipe heating control application in a real winter setup.
Every installation is different. Pipe location, insulation, sensor placement, cable wattage, supply voltage, wind exposure, and winter temperature can all affect performance.
Before Ordering, Please Check
Need Help Planning Your System?
If you are not sure which heating cable or thermostat controller is suitable for your installation, email yelodeer@yelodeer.com.
Please include pipe photos, pipe length and diameter, supply voltage, heating-cable information, insulation details, and your expected winter temperatures.
For a 208–240V hardwired installation, also have a qualified electrician review the electrical supply, circuit protection, grounding, wiring method, and local installation requirements.